
To nicely vacuum your car, remove everything first, take out the floor mats, use the right tools, and clean from the top down. Work slowly around seats, seams, rails, and tight gaps. Use a crevice tool for dirt in cracks and a soft brush for vents and delicate trim.
This guide works for most cars, trucks, and SUVs in the United States. You can use a car vacuum, a household vacuum with attachments, or a wet/dry shop vacuum set for dry debris only.
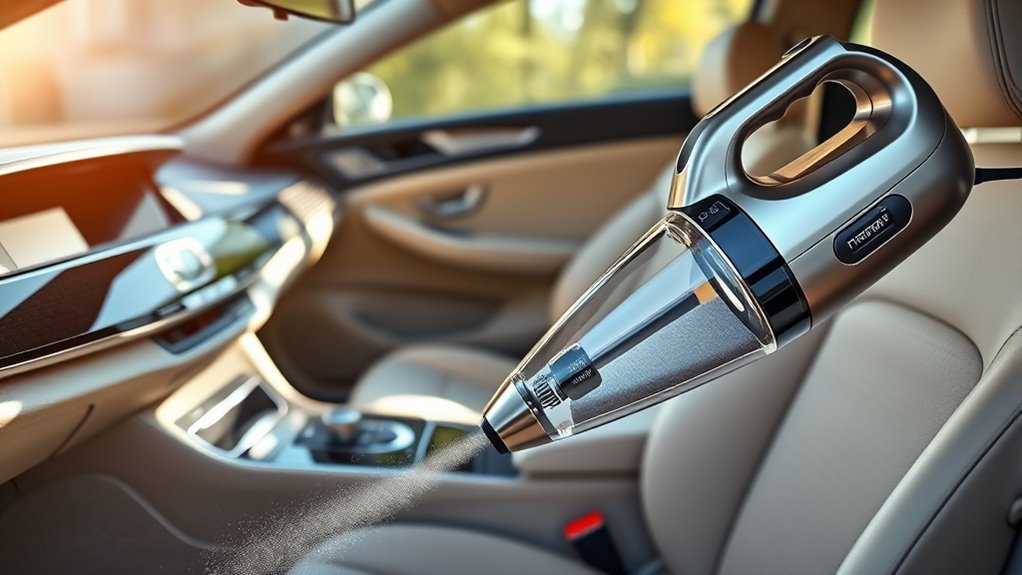
What You Need Before You Start
Gather your tools before cleaning. This helps you finish the job without spreading dirt back over areas you already cleaned.
You will need:
- A vacuum with a hose
- A crevice tool
- A soft brush attachment
- A clean microfiber towel
- A small trash bag
- A stiff brush for floor mats
- An old toothbrush for tight seams
- Mild interior cleaner, if needed
- A bucket of clean water for washable mats
A vacuum with strong suction helps, but technique matters more than power. A narrow nozzle can reach spaces that a wide nozzle cannot. A soft brush can loosen dust without scratching plastic.
Choose the right vacuum
A cordless car vacuum is easy to carry and works well for light cleaning. Its battery may not last for a very dirty SUV or truck.
A household vacuum often has better suction. It works well if you can safely run its cord outside or use it in a garage.
A wet/dry shop vacuum is useful for large amounts of sand, leaves, and pet hair. Make sure it is set up for dry pickup before vacuuming a dry interior. Do not use a regular household vacuum to collect spilled water.
Check the car first
Park on a level surface in a well-lit place. A driveway, garage, or approved car-wash area can work well.
Turn off the engine and remove the key or key fob from the vehicle. Open the doors and trunk. If the weather is windy, clean one area at a time so leaves and dust do not blow back inside.
Do not vacuum loose wires, exposed electrical parts, or a damaged battery. If a seat has a torn airbag cover or exposed wiring, avoid that area and have the vehicle checked.
How to Vacuum a Car Step by Step
The best order is empty, remove, loosen, vacuum, and inspect. Start at the top of the cabin and finish with the floor. This keeps falling dust from making you repeat work.
1. Remove all items from the car
Take out:
- Bottles and cups
- Chargers and cables
- Toys
- Papers
- Personal items
- Trash
- Removable storage-bin contents
Check under the seats and inside door pockets. Dirt often hides beneath objects that stay in the car.
Do not vacuum coins, screws, or other small hard items unless you know they are safe to collect. Pick them up by hand first. Hard objects can damage the vacuum or become a hazard if left under a seat.
2. Remove the floor mats
Take out the driver, passenger, and rear mats before vacuuming the cabin. Removing them prevents dirt from falling into places you already cleaned.
Shake rubber mats outside, then brush or rinse them as needed. For carpet mats, shake them firmly and use a stiff brush to loosen packed dirt. If you wash a mat, let it dry fully before putting it back in the car.
Wet mats can create a damp cabin. persistent dampness may lead to musty odors or mold growth, especially in humid parts of the United States.
3. Loosen stuck dirt before vacuuming
Use a dry brush to loosen sand, dried mud, crumbs, and pet hair. Brush toward the center of the area you plan to vacuum.
For carpet, move the brush in short strokes. For fabric seats, use light pressure. Avoid aggressive scrubbing because it can push dirt deeper into the material or roughen the fabric.
A rubber pet-hair brush can help lift hair from upholstery. Use it gently and test it in a hidden spot first.
4. Vacuum the dashboard and upper cabin
Start with the dashboard, center console, vents, and door panels. This lets dust fall onto areas you will clean later.
Use the soft brush attachment on:
- Air vents
- Gauge covers
- Dashboard seams
- Speaker grilles
- Door pockets
- Plastic trim
- Cup holders
Use a low-pressure approach around buttons and controls. Do not press the nozzle directly against delicate switches.
Avoid forcing the nozzle into air vents. You could push dust deeper inside or damage a vent fin. A soft brush is usually safer for these areas.
5. Vacuum the seats
Move the front seats forward and backward so you can reach all sides. Vacuum the seat cushions, backrests, seams, and gaps near the center console.
For cloth seats, run the upholstery tool slowly over the surface. Use the crevice tool along seams, but do not press hard enough to pull or tear the fabric.
For leather or vinyl seats, use a soft brush or upholstery attachment. Keep the nozzle from scraping the surface. Vacuum dirt before applying any leather cleaner, since loose grit can act like sandpaper.
Pay special attention to:
- Seat belt openings
- The gap between the seat and console
- The rear edge of the front seats
- Child-seat contact areas
- Pet-hair buildup
- Crumbs inside seat seams
Do not remove seat bolts or disconnect seat wiring just to clean underneath. Many modern seats contain sensors and airbag components.
6. Clean under and around the seats
Slide each front seat as far forward as it will go. Vacuum the rear floor area and the rails. Then slide the seat backward and clean the front section.
Use the crevice tool around the seat rails, but keep it clear of wires and moving parts. Do not force the hose under a seat if it catches on anything.
Look for:
- Coins
- Food
- Sand
- Pet hair
- Small toys
- Leaves
- Mud
Check the area near the pedals carefully. Keep the vacuum hose and cord away from the brake and accelerator pedals.
7. Vacuum the floor carpet
Use slow, overlapping passes. A single fast pass may pick up loose crumbs but leave sand and fine dirt behind.
For the driver’s footwell, clean around the pedals without touching or moving them. Make sure the floor mat clips or anchors are not damaged.
Work in sections:
- Driver’s footwell
- Passenger footwell
- Rear passenger floor
- Center tunnel
- Edges beside the doors
- Area beneath the seats
Use the crevice tool along door sills and the center console. Keep the main vacuum head flat on the carpet to improve contact.
If sand is packed into the carpet, brush it loose and vacuum again. Repeat this rather than pushing the nozzle hard into the fibers.
8. Vacuum the trunk or cargo area
Remove the cargo cover, organizer, and spare-tire compartment contents if they are designed to come out.
Vacuum the trunk floor, side panels, seat-back edges, and storage wells. Leaves and dirt often collect near the hatch seal.
Do not disturb emergency equipment, jack tools, or warning labels. Return all safety equipment to its proper location when finished.
9. Inspect and repeat problem areas
Use a flashlight or your phone light to check dark spaces. Look from several angles because clean carpet can hide remaining grit.
Repeat these areas if needed:
- Seat seams
- Floor edges
- Under-seat rails
- Door pockets
- Cargo corners
- Around the pedals
- Between the center console and seats
A good sign is that the carpet looks even, the seams are free of crumbs, and no loose dirt appears when you brush the surface lightly.
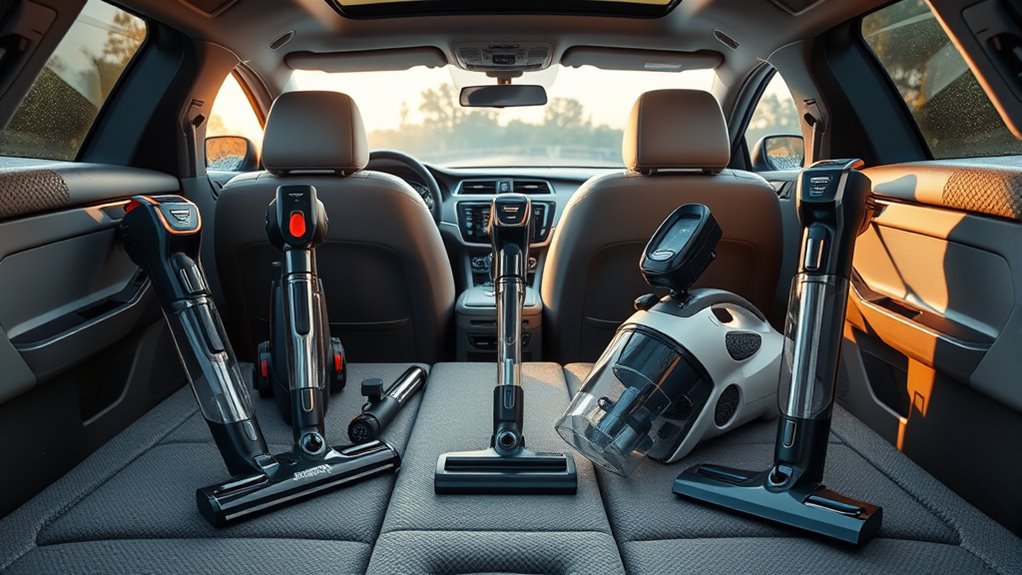
How to Vacuum Different Car Materials
Different surfaces need different pressure and tools. The same hard nozzle that works on rubber mats may scratch plastic or damage fabric.
Cloth seats and carpet
Use an upholstery tool or soft brush. Move slowly in straight lines or small sections.
For pet hair, loosen the hair first with a rubber brush. Vacuum the lifted hair before it settles into another part of the seat.
Do not soak cloth seats during a vacuum-only cleaning. If stains need liquid treatment, use a cleaner that is labeled for automotive upholstery and follow its directions.
Leather and vinyl
Use a soft brush or gentle upholstery attachment. Vacuum seams and creases without dragging a hard plastic edge across the surface.
After vacuuming, you may wipe the surface with a product made for that material. Test any cleaner on a hidden spot first. Household cleaners may leave residue or damage the finish.
Rubber floor mats
Shake or brush off loose dirt first. Vacuum grooves with the crevice tool. If you rinse the mats, dry both sides before reinstalling them.
Do not place a wet driver’s mat in the footwell. It can move under the pedals or interfere with pedal movement.
Plastic trim and vents
Use a soft brush. For narrow gaps, loosen dust with a clean, dry toothbrush, then vacuum the loosened dust.
Avoid pressing a narrow nozzle against delicate screens, buttons, and vent fins. Scratches and broken parts are harder to fix than ordinary dust.
Alcantara and other special materials
Some vehicles use suede-like materials on seats, steering wheels, or trim. Use the vehicle owner’s manual for care instructions before vacuuming aggressively.
A soft brush is usually safer than a hard nozzle. Do not apply a leather product to a material that is not leather.
How to Get Pet Hair and Sand Out
Pet hair and sand usually need extra passes. Vacuuming once at high speed often leaves both behind.
For pet hair:
- Remove large clumps by hand.
- Use a rubber brush or hair-removal tool.
- Brush in one direction.
- Vacuum the lifted hair with an upholstery tool.
- Check seams and the carpet near the doors.
For sand:
- Remove the mats.
- Brush the carpet gently.
- Vacuum with slow overlapping passes.
- Change the angle of the nozzle.
- Repeat around seat rails and door edges.
Do not use compressed air inside the cabin unless you plan to vacuum again. Air can blow dust into vents, switches, and other parts you already cleaned.

Common Mistakes to Avoid
Small mistakes can make the car look clean while leaving dirt behind or causing damage.
Vacuuming around loose water
A standard vacuum is not made to collect water. Water can damage the motor and create an electrical risk.
If a drink spills, first check the vacuum manual. Use a wet/dry vacuum only when it is correctly configured for liquid pickup. For a large spill, remove the source of moisture and dry the area soon.
Vacuuming ash or hot material
Never vacuum hot ash, cigarettes, or embers. They can start a fire inside the vacuum or its dust container.
Let material cool completely, then dispose of it safely according to local rules.
Using the hard nozzle on every surface
A hard nozzle can mark leather, scratch plastic, and pull at cloth seams. Switch to a soft brush for delicate areas.
Cleaning only the visible floor
Dirt often remains under seats, in seat seams, and inside door pockets. Move the seats and clean each section in a set order.
Forgetting the driver’s area
A loose bottle, tool, or floor mat can interfere with the pedals. Make sure the driver’s footwell is clear before driving.
Leaving mats damp
Damp mats can create odor and moisture inside the cabin. Dry them fully before replacing them.
Using too much force
Strong pressure does not always improve cleaning. It can push dirt deeper into carpet or damage trim. Slow movement and repeated light passes work better.
How Often Should You Vacuum Your Car?
Vacuuming every one to two weeks works for many drivers. The right schedule depends on use.
| Driving situation | Practical schedule |
|---|---|
| Clean commute, no pets | Every 2–4 weeks |
| Children or frequent food use | Weekly |
| Pets in the car | Weekly or as needed |
| Beach, desert, or dusty roads | After dusty trips |
| Snow, mud, or road salt | As soon as the cabin is dry enough to clean |
| Rideshare or work vehicle | Several times per week |
These are practical starting points, not fixed rules. Vacuum sooner when dirt is visible, food is present, or moisture has entered the cabin.
Regular light cleaning is usually easier than waiting until sand, hair, and crumbs become packed into the carpet.
What to Do If the Car Still Smells
Vacuuming removes loose particles, but it may not remove the source of an odor.
Check for:
- Wet carpet
- Spilled drinks
- Food beneath seats
- Damp floor mats
- Pet accidents
- Mold-like growth
- A clogged cabin air filter
- Water leaks
Do not cover a strong odor with air freshener. Find and remove the source first.
If the carpet remains wet, the smell returns quickly, or you see mold-like growth, professional cleaning may be needed. A water leak may also require repair.
A Quick Final Check
Before you close the car, confirm that:
- The floor mats are dry and secured
- No tools or items remain near the pedals
- Seat belts are accessible
- Seats move normally
- No vacuum cord or hose is inside the vehicle
- All storage items are back in place
- No loose dirt remains in the driver’s footwell
Take the car for a short look in daylight. Natural light makes missed dust easier to see.
Key Takeaways
- Empty the car before you vacuum.
- Remove and clean the floor mats separately.
- Start with the dashboard and finish with the floor.
- Use a crevice tool for seams and a soft brush for delicate surfaces.
- Brush loose sand and pet hair before vacuuming.
- Keep water away from a regular vacuum.
- Do not disturb seat wiring or airbag parts.
- Make sure the driver’s footwell and mats are safe before driving.
FAQs
Can I use my house vacuum to clean my car?
Yes. A household vacuum can clean a car if you can use it safely and keep the cord away from traffic, water, and the pedals. Use its attachments carefully on fabric, leather, plastic, and vents.
Should I vacuum or wash my car mats first?
Vacuum or brush the mats first to remove loose dirt. If they need washing, clean them afterward and let them dry fully before putting them back in the car.
How do I vacuum between the car seat and the console?
Slide the seat back and forward to open each section. Use a crevice tool slowly, but stop if the nozzle catches on wiring or seat hardware.
Is it safe to vacuum car vents?
Yes, if you use a soft brush and light pressure. Do not force a hard nozzle into the vents or press against the vent fins.
How can I vacuum pet hair from car seats?
Loosen the hair with a rubber brush, then vacuum it with an upholstery tool. Use short, slow passes and check seams, carpet edges, and the area beneath the seats.
Can I vacuum a wet car carpet?
Only use a wet/dry vacuum that is designed and configured for liquid pickup. Do not use a standard household vacuum for water. For major spills or soaked carpet, dry the area promptly and consider professional help.
What should I do if the vacuum does not pick up dirt?
Check for a full dust container, clogged filter, blocked hose, or loose attachment. Clean the filter only as the vacuum manual permits. If suction remains weak, stop using the vacuum until the blockage or mechanical problem is resolved.
Conclusion
A nicely vacuumed car comes from good order and gentle technique, not from rushing. Empty the cabin, remove the mats, clean high areas first, and use the right attachment for each surface. Finish by checking the driver’s footwell, seat movement, and mat placement.
For most cars, a careful vacuum every few weeks keeps dirt from becoming packed into the carpet and seams. If you deal with pets, children, sand, or frequent travel, shorter cleaning sessions will make each deep clean much easier.
Sources for Safe Cleaning Practices
- National Highway Traffic Safety Administration: Vehicle Safety
- U.S. Environmental Protection Agency: Indoor Air Quality
- Occupational Safety and Health Administration: Electrical Safety
- Your vehicle owner’s manual for seat materials, airbag locations, floor-mat anchors, and interior-care instructions
2 Comments