
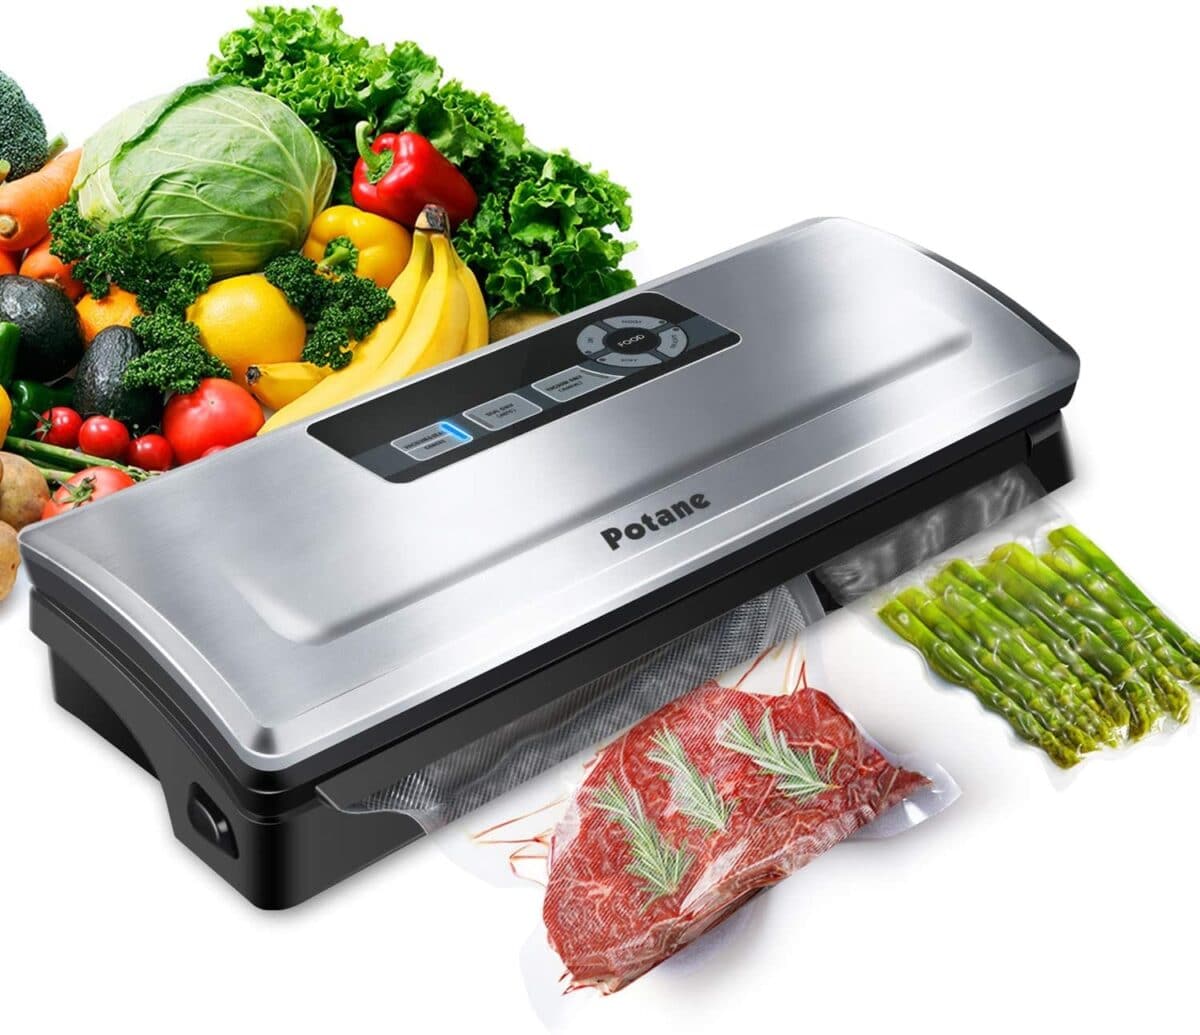
To use a vacuum sealer, place food in a compatible bag, leave space at the open end, seal the bag opening, and start the vacuum cycle. The machine removes air, then heat-seals the bag. Store perishable food in the refrigerator or freezer right away.
A vacuum sealer can help reduce freezer burn, keep dry foods fresh, and organize meals. It does not make raw or cooked food shelf-stable. Safe storage still depends on clean handling, cold temperatures, and proper cooking.
This guide explains how to use an external suction vacuum sealer, the most common type sold in the United States. Button names vary by model, so follow your appliance manual when it differs from these steps.

What You Need Before You Start
Gather the vacuum sealer, compatible bags or rolls, the food, clean scissors, and a clean work area. Use bags labeled for vacuum sealing or approved by your machine’s manufacturer. Ordinary thin plastic bags may not seal well and may not be safe for heat sealing.
Most home vacuum sealers use one of these bag types:
- Pre-cut bags: Ready to fill and seal.
- Roll material: Cut to the needed length and seal one end before filling.
- Reusable vacuum containers: Designed for foods that may crush or for short-term storage.
- Jar sealers: Some models can remove air from jars with special attachments.
Keep at least 3 inches of empty space between the food and the open edge of the bag. This space gives the machine room to grip the bag and create a strong seal.
Before sealing, chill cooked food and wet foods in the refrigerator. Do not place hot food directly into a vacuum bag. Food should not sit at room temperature for more than 2 hours, or more than 1 hour when the temperature is above 90°F, according to USDA food-safety guidance.
Which foods work well?
Vacuum sealing is useful for:
- Meat, poultry, and fish for refrigerated or frozen storage
- Hard cheese
- Cut vegetables prepared for freezing
- Cooked meals that will be chilled or frozen
- Dry goods such as rice, beans, cereal, and coffee
- Portion-sized foods for meal prep
Soft foods, sharp bones, and liquid foods need extra care. The suction may crush bread, berries, pastries, and other delicate items. Bones can puncture the bag. Liquids can travel into the pump and stop the seal.

How to Use a Vacuum Sealer Step by Step
Follow these steps for most countertop vacuum sealers.
1. Prepare the food
Trim excess fat and remove sharp bone edges when practical. Divide food into portions that you will use at one time. Smaller portions cool and freeze more evenly.
Pat meat, fish, and other moist foods dry with a clean paper towel. Less surface moisture helps the machine make a cleaner seal.
For cooked food, let it cool in a shallow container in the refrigerator before sealing. Do not use vacuum sealing to cool food.
2. Choose and cut the bag
Select a bag that is wide enough for the food. If you use a roll, cut a section several inches longer than the food.
The bag must fit inside the sealer’s channel. A bag that is too narrow may not seal. A bag that is too short may leave too little room for a strong seal.
3. Fill the bag carefully
place the food in a single, fairly even layer. Keep food away from the open edge. Wipe the inside of the top 2 to 3 inches if grease or moisture gets there.
Do not overfill the bag. The machine needs a flat, clean area to create the seal.
For foods with sharp points, wrap the tips with freezer paper or place a small piece of soft material between the food and the bag. This can help reduce punctures.
4. Position the bag
Open the sealer lid and place the bag’s open edge in the vacuum channel. Keep the bag flat. Do not let wrinkles cross the sealing area.
Close and lock the lid if your model requires it. Some units need firm pressure until the latch clicks.
5. Select the right setting
Choose a setting that matches the food:
- Dry mode: For dry foods and foods with little surface moisture
- Moist mode: For foods with some liquid
- Pulse mode: For delicate foods, because you control the suction
- Seal-only mode: To close a bag without removing air
- Cancel or stop: To end suction early if food or liquid moves toward the pump
Use the gentlest setting that removes enough air. Maximum suction can crush soft foods and pull liquid from meat.
6. Start the vacuum cycle
Press the vacuum-and-seal button. Watch the bag as air leaves it. The plastic should draw close to the food without cutting into it.
For liquids or wet foods, stop the vacuum before liquid reaches the machine’s drip tray. Then use the seal-only function. Some machines handle moisture better than others, but no external sealer should be allowed to pull liquid into its pump.
7. Check the seal
A good heat seal is even, flat, and continuous across the bag. It should not have gaps, wrinkles, holes, or wet spots.
If the seal looks weak, cut below it and make a new seal on a clean, dry section. Do not rely on a seal with visible folds or trapped food.
8. Label and store the package
Write the food name and date on the bag. Store perishable food in the refrigerator or freezer immediately.
Vacuum-sealed food still needs safe storage temperatures:
- Keep refrigerated food at 40°F or below.
- Keep the freezer at 0°F for long-term frozen storage.
- Follow USDA storage guidance for the specific food.
- When in doubt, freeze the package rather than keeping it in the refrigerator for an extended time.
Vacuum sealing can slow freezer burn, but it does not stop food from aging forever. For best quality, use frozen food within the recommended storage period for that food.

How to Vacuum Seal Liquids Without Making a Mess
The safest method for liquid foods is to freeze them first. This turns the liquid into a solid that the vacuum sealer can handle more easily.
Use this process for soup, stock, marinades, sauces, or stews:
- Cool the food in the refrigerator.
- Pour it into a freezer-safe container or tray.
- Freeze it until solid.
- Remove the frozen portion.
- Place it in a vacuum bag.
- Vacuum-seal the solid food.
- Return it to the freezer.
Leave space for expansion when freezing liquids. A sealed bag or container filled too tightly may split as the food expands.
You can also use a bag with the open end hanging below the vacuum channel, if your machine design allows it. Stop the cycle as soon as liquid begins moving toward the pump. Then seal the bag. This method requires close attention and may not work well with thin liquids.
Never pour hot liquid into a vacuum bag. Heat can weaken the plastic, create burns, and cause the bag to fail.

How to Vacuum Seal Meat, Fish, and Poultry
Pat the surface dry before sealing meat, fish, or poultry. Moisture is common with these foods, so use the moist setting or pulse control when available.
For bones, protect sharp edges with freezer paper or a small piece of folded paper towel. You can also use a second bag if the first bag is likely to puncture.
Keep raw meat separate from ready-to-eat food. Wash hands, cutting boards, counters, and utensils with hot, soapy water after handling raw meat or poultry.
A vacuum-sealed package may look tight and clean, but it is still raw food if it started raw. It must remain refrigerated or frozen and must reach a safe internal cooking temperature. Use a food thermometer rather than judging by color alone.
Do not use vacuum sealing to store raw meat at room temperature. Removing oxygen can create conditions in which some harmful bacteria grow without changing the package’s appearance or smell.

How to Vacuum Seal Vegetables and Fruit
Some vegetables should be blanched before vacuum sealing and freezing. Blanching means briefly heating the food in boiling water or steam, then cooling it quickly in ice water.
Blanching slows enzyme activity that can affect color, flavor, and texture during frozen storage. The National Center for Home Food Preservation recommends blanching many vegetables before freezing, although exact times differ by vegetable.
Examples include:
- Green beans
- Broccoli
- Carrots
- Corn
- Peas
- Spinach and other greens
Follow a tested freezing guide for the exact vegetable. Cool and drain the food well before sealing. Excess water can interfere with the seal.
Delicate fruit may crush under strong suction. Freeze berries, sliced fruit, or other soft items on a tray first. Then place the firm pieces in a bag and seal them. This is often called tray freezing.
Do not vacuum-seal whole raw garlic or store it in oil at room temperature. Low-oxygen storage can create a serious botulism risk. Keep garlic products refrigerated or frozen and follow tested preservation guidance.

How to Vacuum Seal Dry Foods
Dry foods are among the easiest foods to seal. Fill the bag, keep the opening clean, and use the dry setting.
Useful examples include:
- Flour
- Rice
- Pasta
- Dried beans
- Nuts
- Coffee
- Dehydrated fruit
- Baking ingredients
Vacuum sealing can reduce exposure to air and moisture, but it does not replace a cool, dry, pest-free storage area. It also does not kill insects, bacteria, mold, or spores already present in the food.
For powders, use short pulse cycles or place a small paper filter near the top of the bag if the manufacturer permits it. Fine powder can enter the pump and cause problems.
For long-term emergency storage, use a tested food-preservation plan. Vacuum bags alone are not a complete substitute for approved oxygen absorbers, moisture control, sealed containers, or proper shelf-life guidance.

How to Use Vacuum-Sealer Rolls
Vacuum-sealer rolls let you make bags in custom sizes.
- Cut a piece of roll material several inches longer than the food.
- Place one end across the sealing strip.
- Select seal-only mode.
- Check that the first seal is flat and complete.
- Add the food through the open end.
- Leave at least 3 inches of empty space.
- Place the open edge in the vacuum channel.
- Run the vacuum-and-seal cycle.
- Inspect both seals before storage.
Make the bag only as large as needed. A very large bag uses more material and may take longer to seal. A bag that is too small may fail because food reaches the sealing area.

What to Do When a Vacuum-Sealed Bag Fails
Most sealing problems come from moisture, wrinkles, overfilling, punctures, or a dirty sealing strip.
| Problem | Likely cause | What to try |
|---|---|---|
| The machine removes little air | Bag is not positioned correctly or the lid is not locked | Reposition the bag and close the lid firmly |
| The bag will not seal | Moisture, crumbs, or grease on the seal area | Wipe the opening and use a clean section |
| The bag loses its vacuum | Puncture, weak seal, or sharp food | Inspect for holes, protect sharp edges, and reseal |
| Liquid enters the pump | Food was too wet or suction ran too long | Freeze the food first or stop suction sooner |
| The bag melts or burns | Excessive heat or repeated cycles | Let the sealer cool and follow the manual |
| Food is crushed | Suction is too strong | Use pulse mode or a lower setting |
| Air remains in the bag | Wrinkles or uneven food placement | Smooth the bag and spread the food evenly |
If the machine makes unusual noise, overheats, smells like burning plastic, or shows electrical damage, unplug it and stop using it. Contact the manufacturer or a qualified repair service. Do not open the appliance unless the manual provides safe service instructions.
Clean the drip tray and sealing area after wet-food use. Unplug the unit before cleaning, and never immerse the electrical appliance in water.
Common Vacuum-Sealing Mistakes to Avoid
Sealing food while it is hot
Hot food can warm the refrigerator, weaken the bag, and increase food-safety risk. Chill cooked food first.
Treating vacuum-sealed food as shelf-stable
Vacuum sealing removes air. It does not sterilize food or destroy harmful microbes. Keep perishable food cold.
Filling the bag too far
Food near the opening can block the seal. Leave a clear, dry margin.
Letting liquid reach the pump
This can damage the machine and prevent a reliable seal. Freeze liquids or stop the cycle before the liquid travels upward.
Using damaged or unsuitable bags
Use bags made for your model or labeled for vacuum sealing. Do not reuse bags that held raw meat, greasy foods, or foods that cannot be fully washed away.
Ignoring freezer space
Leave room for air to circulate around newly frozen food. Label packages so older food gets used first.
Assuming an intact bag proves safe food
A tight seal only shows that the package is closed. It does not prove that the food was cooled, stored, or handled safely.

How Long Does Vacuum-Sealed Food Last?
Vacuum sealing may extend quality compared with ordinary wrapping, especially in the freezer. However, storage time depends on the food, temperature, freshness, packaging, and handling.
Use USDA refrigerator and freezer charts for storage limits. If food has been left in unsafe temperatures, has an unusual odor, shows mold, or the package is swollen, discard it. Do not taste questionable food to decide whether it is safe.
For refrigerated food, vacuum sealing should not be treated as permission to exceed standard refrigerator storage times. When you need longer storage, freezing is usually the safer choice for quality and preservation.

Vacuum Sealer FAQs
Can I vacuum-seal bread?
Yes, but strong suction can flatten bread. Use pulse mode, reduce the suction, or freeze the bread first. A rigid container may work better for delicate baked goods.
Can I vacuum-seal cooked meals?
Yes. Chill cooked meals promptly in shallow containers, then portion and seal them. Refrigerate or freeze the packages right away.
Can I vacuum-seal cheese?
Hard cheese generally seals well. Keep it refrigerated after sealing. Soft, moist cheeses need more care because moisture and texture can affect the seal.
Can I vacuum-seal marinated meat?
Yes, but excess marinade can enter the pump. Use a container attachment, freeze the marinade first, or stop the vacuum early and seal the bag manually.
Can I reuse vacuum-sealer bags?
Only reuse a bag when it held a clean, dry food and can be washed completely. Do not reuse bags that held raw meat, poultry, fish, eggs, or greasy foods.
Why does my vacuum-sealed bag puff up?
A swollen bag may indicate gas from spoilage, fermentation, or food that was sealed while warm. Keep the food cold and discard packages that look spoiled. Do not open a suspicious package near other food.
Key Takeaways
- Use bags made for vacuum sealing.
- Leave about 3 inches of empty space at the opening.
- Keep the seal area clean and dry.
- Use pulse mode for soft foods.
- Freeze liquids before sealing when possible.
- Chill cooked food before packaging.
- Refrigerate or freeze perishable food immediately.
- Vacuum sealing reduces air but does not make food shelf-stable.
- Label every package with the food and date.
- If a package leaks, smells bad, swells, or shows mold, discard it.
Conclusion
Using a vacuum sealer is simple once you control moisture, bag placement, and storage temperature. Prepare the food, leave a clean margin, remove air with the right setting, inspect the seal, and store the package promptly.
For the safest routine, use vacuum sealing mainly for freezer storage, portion control, and dry-food protection. Follow your machine’s manual and current USDA or National Center for Home Food Preservation guidance for food-specific storage times.

One Comment