Find the leak, replace cracked hoses or gaskets, then test thoroughly.
If your engine idles rough, whistles, or throws lean codes, you might have a vacuum leak. I’ve fixed hundreds in shops and driveways, and I’ll walk you through how to fix a vacuum leak the right way. We’ll cover what causes leaks, how to diagnose them without guesswork, and proven repair steps—from hoses and PCV systems to intake gaskets—so you get a smooth idle and clear that check engine light with confidence.

What a Vacuum Leak Is and Why It Matters
Engines rely on steady intake vacuum to meter air and fuel. A vacuum leak is unmetered air sneaking in after the mass airflow sensor or before the intake valves. That extra air leans out the mix, so the computer adds fuel to compensate.
Symptoms show up fast: rough idle, high idle, stalling, pinging, or a hard brake pedal if the booster leaks. You may see codes like P0171 or P0174 (system too lean), P0507 (idle higher than expected), or EVAP-related faults. Fixing it early protects the catalytic converter, improves fuel economy, and brings power back.
When you know how to fix a vacuum leak, you avoid parts darts and save real money.
Symptoms and Common Causes
Spotting patterns makes diagnosis faster. Here’s what to look and listen for.
Typical symptoms
- Rough or high idle, stumble, or stall when stopping
- Hissing or whistling from the engine bay
- Check engine light with lean codes (P0171/P0174), misfire codes, or P0507
- Poor fuel economy and sluggish throttle
- Hard brake pedal or longer stops (brake booster leak)
Common causes
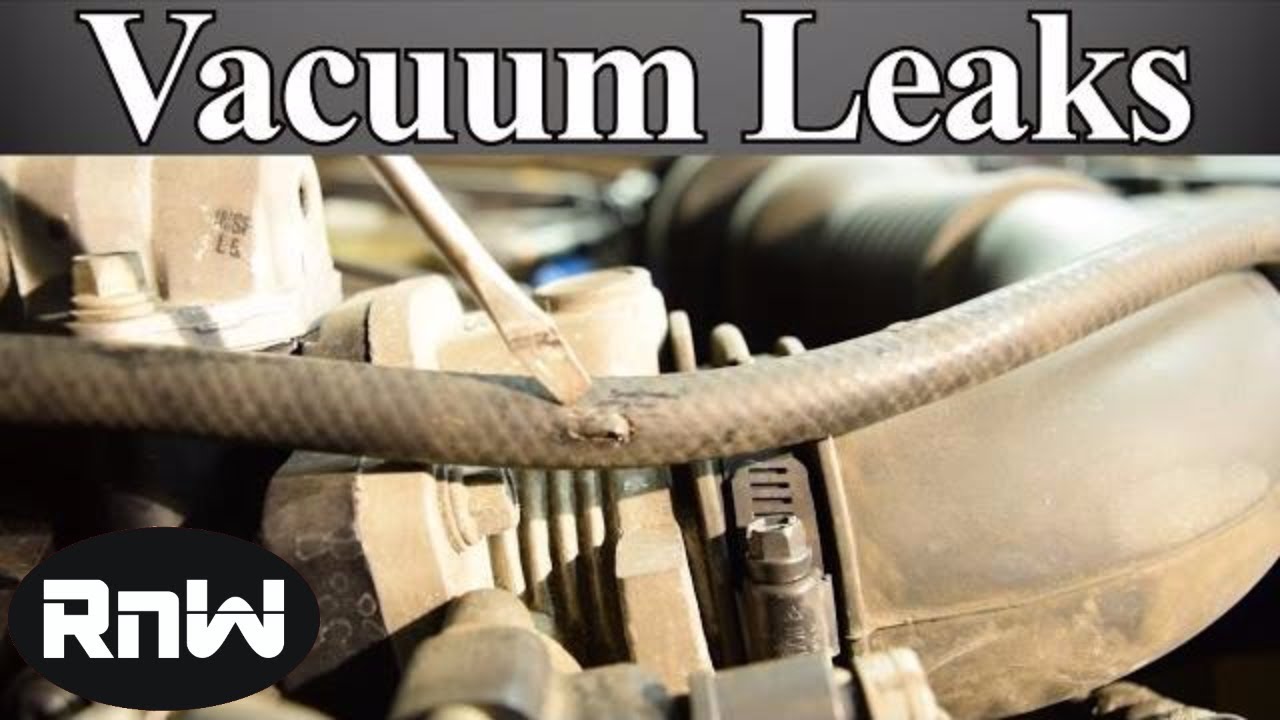
- Split or brittle rubber vacuum hoses and tees
- Cracked intake boot between the airbox and throttle body
- Leaking PCV valve, grommet, or hoses
- Throttle body or intake manifold gasket leaks
- Loose or missing hose clamps or intake bolts
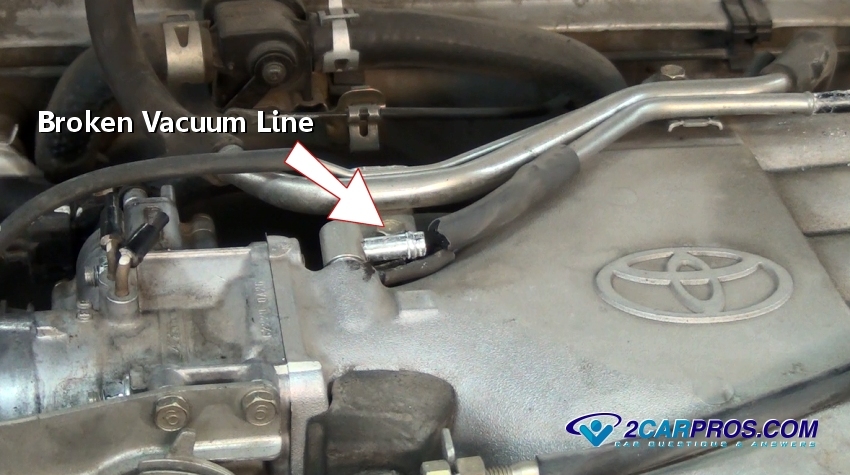
- EVAP purge valve O-ring leaks or broken vapor lines
- Turbo or supercharged cars: loose charge pipe couplers and clamps
- EGR valve or gasket leaks on some engines
These clues help you plan how to fix a vacuum leak without tearing the whole car apart.
Tools and Supplies You’ll Need
You can diagnose and repair most leaks with basic tools.
Core tools
- OBD-II scanner or app to read codes and fuel trims
- Hand tools: sockets, screwdrivers, pliers, torque wrench
- Smoke machine for intake/EVAP testing or shop test time
- Flashlight, mirror, and a length of hose to “stethoscope” hissing
Consumables and parts
- Vacuum-rated hose (correct inner diameter), tees, and clamps
- New gaskets and O-rings (throttle body, intake, purge valve)
- PCV valve and grommet if applicable
- MAF sensor cleaner (not brake cleaner) and throttle body cleaner
- Soapy water in a spray bottle or approved intake-safe leak detector
- RTV sealant only where the service manual calls for it
Safety
- Nitrile gloves, eye protection, fender cover
- Fire extinguisher if using any flammable sprays
This kit makes how to fix a vacuum leak much faster and safer.

Step-by-Step: Diagnose a Vacuum Leak
Getting the diagnosis right is half the job. Here’s my go-to process from years in the bay.
Step 1: Confirm symptoms and codes
- Scan for codes. Note freeze-frame data.
- Clear soot: a real vacuum leak usually shows positive long-term fuel trims.
Step 2: Check fuel trims on a warm engine
- At idle, STFT and LTFT should be near zero. Over +10% suggests a leak.
- If trims drop closer to zero at 2,500 rpm, that also points to a vacuum leak at or near idle circuits.
Step 3: Visual and touch inspection
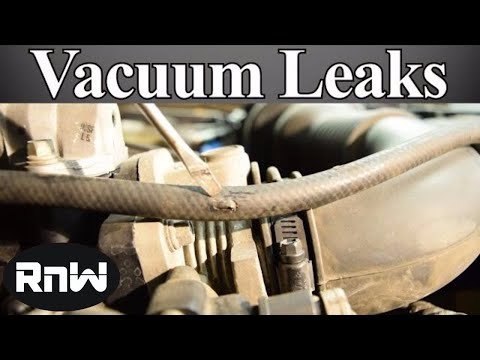
- Squeeze every vacuum hose. If it cracks, replace it.
- Check the intake boot for splits near clamps and ribs.
- Tug on PCV lines, purge valve hoses, brake booster hose, and grommets.
- Look for oil-soaked rubber; oil degrades hoses fast.
Step 4: Listen and localize
- Use a length of hose as an ear tube. One end to your ear, the other to suspect spots.
- A sharp hiss near the manifold, throttle body, or a hose barb is your map pin.
Step 5: Targeted leak detection
Safer options first.
- Smoke test: Cap the intake, feed smoke at low pressure. Watch for wisps at gaskets, hose ends, and EVAP parts.
- Soapy water: Lightly pressurize the intake with a smoke machine or a gentle regulated air source and spray soapy water; bubbles reveal leaks.
Avoid open flames and be cautious with flammable sprays. If you use a spray test, keep all sources away from ignition and hot parts.
Step 6: Special checks that catch most leaks
- PCV system: Shake the PCV valve; if stuck, replace it. Inspect the grommet and hard plastic lines.
- Brake booster: With the engine off, pump the brake pedal to firm it up. Start the engine. If the pedal doesn’t drop, suspect the booster or its check valve.
- EVAP purge valve: With a scan tool, command it closed. If smoke still comes through, the valve or O-ring leaks.
- Intake manifold: Spray or smoke around the junctions and end seals on V engines.
- Forced induction: Check intercooler couplers, charge pipes, and clamps.
By now you should know where the leak is, which makes how to fix a vacuum leak much simpler.

Step-by-Step: How to Fix a Vacuum Leak
Different leaks need different repairs. Follow the path that matches your findings.
Replace a cracked vacuum hose
- Measure inner diameter and length.
- Cut new vacuum-rated hose to match. Avoid fuel line unless spec’d.
- Push it fully onto barbs. Add spring clamps where needed.
- Route away from heat and sharp edges.
Replace a torn intake boot
- Loosen both clamps and remove sensors attached to the boot.
- Inspect mating surfaces and clean.
- Install the new boot. Align locator tabs. Tighten clamps until snug.
Fix PCV valve, hose, or grommet
- Pull the valve and shake it. If sticky, replace it.
- Swap any brittle hoses and the valve cover grommet.
- Ensure the valve faces the right flow direction.
Reseat or replace throttle body gasket
- Disconnect the battery if the manual calls for it.
- Remove the intake boot, unplug the throttle body, and unbolt it.
- Clean surfaces. Install a new gasket.
- Torque bolts in a cross pattern to spec. Relearn idle if required.
Replace intake manifold gaskets
- Label connectors and hoses. Remove the manifold per the manual.
- Clean all gasket surfaces. Do not gouge aluminum.
- Install new gaskets. Apply RTV only where the manual specifies.
- Torque in sequence to spec. Reconnect everything carefully.
Repair EVAP purge valve O-rings or lines
- Inspect the valve and lines for cracks.
- Replace the O-ring and damaged sections of line.
- Ensure quick-connects click and lock.
Brake booster hose or check valve
- Check for hard or collapsed hose.
- Replace the hose, check valve, and booster grommet if loose.
- Confirm the arrow on the check valve points toward the booster.
Turbo and supercharged systems
- Remove and inspect couplers and clamps.
- Clean oil film. Oil makes couplers slip.
- Reinstall with quality T-bolt clamps. Pressure-test the system.
Pro tip from the shop floor: I once chased a lean idle on a V6 for two hours. Fuel trims screamed vacuum leak, but spray tests were clean. A smoke test finally showed a hairline crack under the PCV elbow on the back bank—totally hidden. Since then, I always smoke test before replacing sensors. It saves time and money.
At every step, this is how to fix a vacuum leak without guesswork: find, replace, torque to spec, recheck.

After the Fix: Verify, Reset, and Drive
Now confirm the repair so the issue stays gone.
Verification steps
- Smoke test again. No wisps means you sealed it.
- Start the engine. Idle should settle. Listen for hiss.
- Check fuel trims. STFT near zero and LTFT within about ±5–10% is a good sign.
- Clear codes. Perform a short drive cycle with mixed speeds.
- Watch monitors. EVAP and O2 monitors may take longer to set.
When you follow how to fix a vacuum leak from diagnosis to verification, you get lasting results.
Cost, Time, and Difficulty
Budget and plan your repair before you start.
Typical ranges
- Vacuum hoses and tees: $5–$40 in parts, 15–45 minutes
- PCV valve and grommet: $10–$80 parts, 20–60 minutes
- Intake boot: $20–$80 parts, 15–30 minutes
- Throttle body gasket: $5–$25 parts, 30–60 minutes
- Intake manifold gaskets: $20–$150 parts, 2–6 hours
- Brake booster hose/check valve: $15–$60 parts, 20–45 minutes
- Shop smoke test: $80–$150
- Professional repair: $150–$900 depending on labor time
Knowing these numbers helps you decide whether to DIY or book a shop, and it frames how to fix a vacuum leak within your budget.

Prevention and Maintenance Tips
Stop leaks before they start.
Simple habits
- Inspect hoses every oil change. Replace anything brittle or oil-soaked.
- Keep the air filter and MAF sensor clean to reduce backfires and strain.
- Use proper clamps and routing. Avoid sharp bends and hot surfaces.
- Fix oil leaks. Oil degrades rubber fast.
- Torque intake parts to spec after service.
If you understand how to fix a vacuum leak, you’ll also learn how to prevent the next one.
Frequently Asked Questions
Can I drive with a vacuum leak?
You can, but it’s not wise. It can cause poor braking, high emissions, and damage the catalytic converter over time.
Will a vacuum leak trigger the check engine light?
Yes. Common codes include P0171 and P0174 for lean conditions, and sometimes P0507 for high idle. EVAP leaks can set their own codes.
What’s the fastest way to find a vacuum leak at home?
A smoke test is fastest and safest. If you lack a smoke machine, use careful visual checks and soapy water with gentle pressure instead.
Can a vacuum leak cause misfires?
Yes. Unmetered air leans out one or more cylinders, leading to rough idle and misfire codes, especially at low rpm.
How do fuel trims help diagnose a vacuum leak?
High positive LTFT at idle that improves at higher rpm points to a vacuum leak. Stable trims near zero suggest the leak is fixed.
Do I need to replace all hoses at once?
If they’re the same age and feel brittle, replace them as a set. It’s cheap insurance and prevents repeat visits under the hood.
Is carb cleaner safe to use for leak detection?
It can work but is flammable. Smoke testing or soapy water is safer. If you spray, use minimal amounts away from ignition sources.
Conclusion
A smooth idle and clear codes start with one skill: knowing how to fix a vacuum leak from end to end. Diagnose with trims and smoke, repair the exact fault, and verify with a clean retest and steady fuel trims. Do this, and you’ll save fuel, protect your cat, and enjoy a car that just feels right.
Ready to tackle your repair? Bookmark this guide, share it with a friend, and drop your questions or results in the comments so we can help you dial it in.