
Cleaning a vacuum filter helps restore airflow, reduce dust, and keep your vacuum working well. In most U.S. homes, you can clean a washable foam or pleated filter by removing it, tapping out loose dust, rinsing it with cool water, and letting it dry fully before putting it back.
The exact method depends on your vacuum model and filter type. Always check the owner’s manual first. Some filters are washable, while others must stay dry and be replaced.
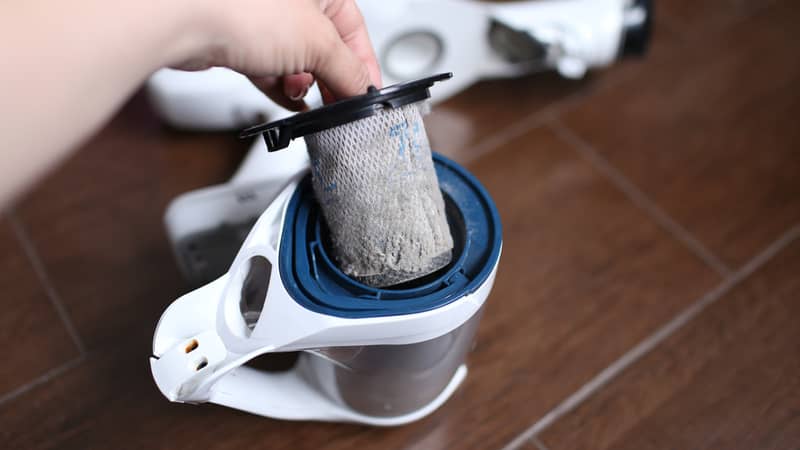
Before You Clean the Vacuum Filter
Gather a few basic items before you start:
- The vacuum’s owner’s manual
- A trash bag or outdoor bin
- Cool or lukewarm water
- A clean towel
- Mild dish soap, only if the manual allows it
- A soft brush, if needed
- A replacement filter, if the old one is damaged
Unplug a corded vacuum before opening it. For a cordless vacuum, turn it off and remove the battery if the design allows it. Never clean a filter while the vacuum is running or charging.
Find the Filter
Vacuum filters may sit in different places:
- Behind the dust cup
- Inside the dust cup
- Before the motor
- Near the exhaust vent
- Inside a sealed bag compartment
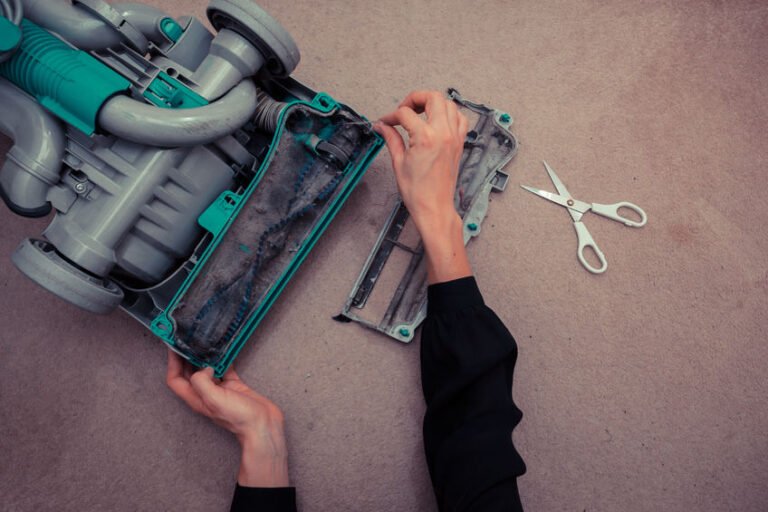
- Under a removable floor plate
Many vacuums have more than one filter. A pre-motor filter protects the motor from dust. A post-motor or exhaust filter helps reduce dust released into the room.
Check the Filter Type
Look for labels such as:
- Washable
- Rinse only
- Foam filter
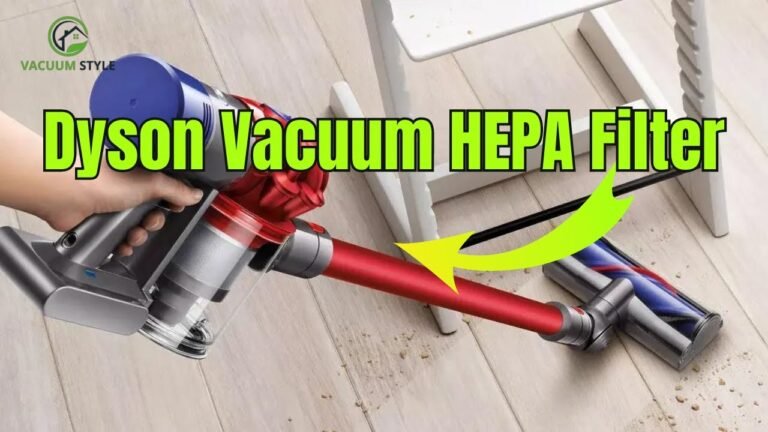
- HEPA filter
- Non-washable
- Replace every six to twelve months
A HEPA filter is designed to capture very small particles, but “HEPA” does not always mean washable. Some washable HEPA filters are made from plastic or coated material. Others use paper-like fibers that can be damaged by water.
If the filter has no label, check the manual or the manufacturer’s support page for the exact model.

How to Clean a Washable Vacuum Filter
Use these steps for a filter that the manufacturer says can be washed.
1. Turn Off and Unplug the Vacuum
Switch off the vacuum and unplug it from the wall. If it is cordless, turn it off and remove the battery when possible.
Place the vacuum on a stable surface. Avoid cleaning it over a carpet, bed, or sofa, since loose dust can spread into the fabric.
2. Remove the Filter Carefully
Open the filter cover or remove the dust cup. Take note of how the filter sits inside the vacuum.
Some filters have a rubber edge, a plastic frame, or a specific top and bottom. A quick photo can help you reinstall it correctly.
Do not pull hard on a filter that feels stuck. Check for clips, tabs, or a locking ring.
3. Remove Loose Dust
Hold the filter over a trash can or take it outdoors. Gently tap the frame against the side of the bin.
Do not hit the filter hard. Strong impacts can tear pleats, loosen the filter media, or damage the seal.
For a pleated filter, use a soft brush only if the manual allows it. Avoid scrubbing the filter material.
4. Rinse With Cool or Lukewarm Water
Rinse the filter under a gentle stream of water. For a pleated filter, rinse from the clean side toward the dirty side when the design makes that clear. This can help push dust out instead of deeper into the pleats.
Do not use hot water. Heat may warp plastic parts or damage adhesives.
Do not use bleach, solvents, laundry detergent, or strong cleaners. These products may leave residue or weaken the filter.
5. Use Mild Soap Only When Allowed
Some washable foam filters can be cleaned with a small amount of mild dish soap. Many pleated filters should be rinsed with water only.
If the manual permits soap, use very little. Gently squeeze or press a foam filter. Do not twist it, wring it, or scrub it aggressively.
6. Rinse Until the Water Runs Clear
Keep rinsing until dust and soap are gone. Soap left in the filter can restrict airflow and may create a smell when the vacuum runs.
Press a foam filter gently to remove excess water. Do not squeeze a pleated filter flat.
7. Air-Dry the Filter Completely
Place the filter in a warm, well-ventilated area away from direct heat. Let air move around both sides.
Do not use a clothes dryer, hair dryer, heater, oven, or direct high heat. Heat can shrink or deform the filter.
The filter must be fully dry before you reinstall it. Drying time varies by filter size, material, and humidity. It may take a full day or longer. If any coolness, dampness, or water remains, keep drying it.
8. Reinstall the Filter Correctly
Put the dry filter back in the same position. Make sure the rubber seal sits flat and the cover closes fully.
A loose filter can let dust reach the motor or escape through the exhaust. Do not run the vacuum without a required filter in place.

How to Clean a Non-Washable or Disposable Filter
A non-washable filter should usually be replaced rather than rinsed. Water can damage paper fibers, glue, or filter layers.
For light dust, gently tap the filter over a trash can if the manual permits it. Do not brush, scrub, or vacuum the filter unless the manufacturer specifically recommends that method.
Replace the filter when it is:
- Torn, crushed, or cracked
- Permanently gray or heavily clogged
- Damp or moldy
- Smelly after cleaning
- Missing its seal or frame
- Difficult to clean without damaging it
Some disposable filters have a service life based on use, while others have a calendar-based replacement period. Heavy cleaning, pet hair, remodeling dust, and fine powder can shorten filter life.
Do not wash or reuse a disposable bag. A full bag should be replaced with the correct size and type for the vacuum.

How to Clean a Vacuum HEPA Filter
Clean a HEPA filter only when the manufacturer marks it as washable. Many HEPA filters are replaceable and should not be exposed to water.
If the HEPA filter is washable:
- Turn off and unplug the vacuum.
- Remove the filter without shaking it indoors.
- Tap off loose dust gently.
- Rinse it with cool water if the manual allows it.
- Do not use soap unless approved.
- Let it air-dry completely.
- Reinstall it with the seal facing the correct direction.
If it is not washable, replace it according to the manual. Do not assume that a filter can be washed because it looks like a foam filter.
When handling a very dusty filter, people with asthma, allergies, or strong dust sensitivity may prefer to wear a well-fitting mask and clean it outdoors. Keep children and pets away from the dust.

How to Clean a Vacuum Filter Without Washing It
Some vacuum filters should remain dry. You can still remove surface dust safely:
- Turn off and unplug the vacuum.
- Remove the filter outdoors or beside a trash can.
- Tap it gently to release loose dust.
- Use a soft brush only if the manual allows it.
- Reinstall it or replace it if airflow remains weak.
Avoid blowing compressed air through the filter indoors. It can spread fine dust through the room. It may also force particles deeper into the filter material.
Do not use a second vacuum to clean a filter unless the manufacturer recommends it. Suction can damage thin filter media or pull the filter apart.

When Should You Clean a Vacuum Filter?
Clean a washable filter when it looks dusty or when airflow starts to fall. The right schedule depends on the vacuum, floor type, home size, pets, and amount of debris.
| Vacuum use | Basic filter check |
|---|---|
| Light use, no pets | About once a month |
| Regular household use | Every 2 to 4 weeks |
| Pets or heavy dust | Weekly or as needed |
| Remodeling or fine dust | Check after each major use |
| Reduced suction or odor | Check at once |
These are starting points, not universal rules. The owner’s manual takes priority.
Check the filter sooner if the vacuum:
- Loses suction
- Makes a higher-pitched sound
- Overheats or shuts off
- Releases a dusty smell
- Leaves debris behind
- Shows a filter warning light
- Has a dust cup that fills unusually fast
A clean filter cannot fix every vacuum problem. A blocked hose, full dust cup, worn brush roll, clogged wand, damaged seal, or broken belt can cause similar symptoms.
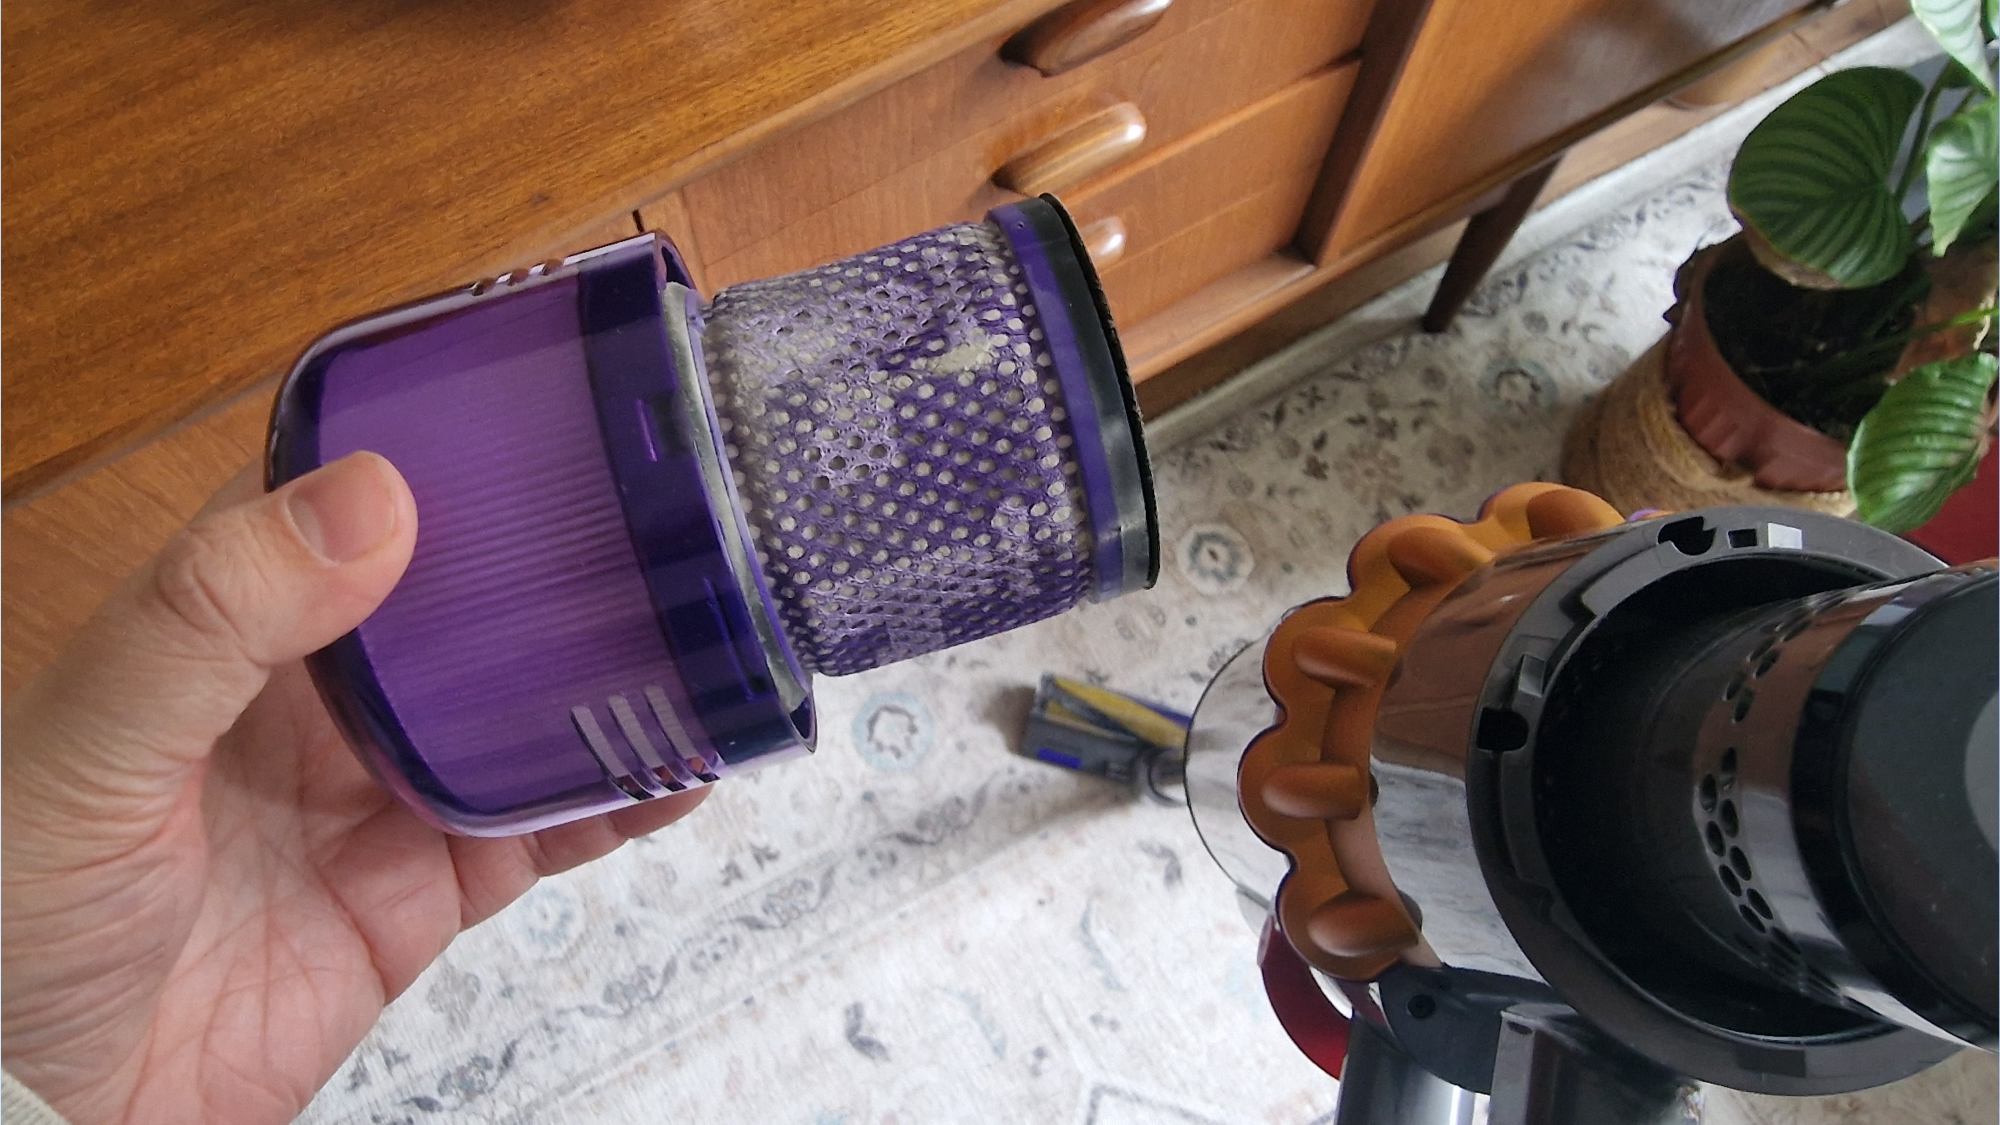
How to Tell Whether the Filter Is Clean
A clean filter should be free of loose dust, soap, and visible moisture. It should fit firmly and keep its original shape.
After reassembly, test the vacuum briefly on a hard floor. Listen for normal airflow and check that the cover stays closed.
Stop using the vacuum if you notice:
- A burning smell
- Smoke
- Sparking
- A damaged cord
- A cracked filter housing
- Water inside the motor area
- Loud grinding or electrical noise
A filter that is clean but still blocks airflow may be damaged or permanently clogged. Replace it if the manual lists it as replaceable. If the vacuum still overheats or loses suction, contact the manufacturer or a qualified repair service.

Common Mistakes When Cleaning a Vacuum Filter
Washing Every Filter
Not every filter is washable. Water can ruin disposable and paper-based filters.
Reinstalling a Damp Filter
A wet filter can restrict airflow and may allow moisture to reach the motor. Dry it completely before use.
Using Hot Water or Strong Chemicals
Heat and harsh cleaners can damage filter fibers, seals, and adhesives. Cool water is the safer default when washing is approved.
Scrubbing Pleated Filters
Aggressive brushing can tear pleats and create gaps. Tap the filter gently and rinse it as directed.
Running the Vacuum Without Its Filter
The vacuum may pull dust into the motor or release it into the room. Make sure all required filters are installed.
Ignoring the Dust Cup and Hose
A clean filter will not restore suction if the dust cup, wand, hose, or brush roll is blocked. Check the full airflow path.
What to Do If Cleaning Does Not Restore Suction
Check the vacuum in this order:
- Empty the dust cup or replace the bag.
- Confirm that the filter is dry and installed correctly.
- Inspect the hose and wand for blockages.
- Remove hair and thread from the brush roll.
- Check the floor-head opening.
- Inspect seals, clips, and the dust-cup cover.
- Look for a full or damaged secondary filter.
- Reset the vacuum if the model has an overheating protection system.
If the vacuum shut off during use, unplug it and let it cool. Do not keep switching it on while it is overheating.
If suction remains poor after these checks, the problem may involve the motor, belt, fan, battery, or internal blockage. Use the model’s repair instructions or seek qualified service instead of opening electrical parts without the proper skills.
Key Takeaways
- Check the owner’s manual before cleaning any vacuum filter.
- Wash only filters labeled or documented as washable.
- Use cool water and mild soap only when approved.
- Let the filter dry fully before reinstalling it.
- Replace torn, crushed, smelly, or non-washable filters.
- Check the dust cup, hose, wand, and brush roll if suction stays weak.
- Stop using the vacuum if it smells burnt, smokes, sparks, or overheats.
Frequently Asked Questions
Can I wash a vacuum filter with dish soap?
Only if the manufacturer allows it. Washable foam filters may permit a small amount of mild dish soap, while many pleated filters should receive water only. Rinse well and let the filter dry completely.
How long does a vacuum filter take to dry?
Drying time depends on the filter material, air movement, temperature, and humidity. A filter may need a full day or longer. Do not use the vacuum until no moisture remains.
Can I use a vacuum without the filter?
No. A required filter protects the motor and helps control dust. Operating without it can damage the vacuum and release dust into the room.
How often should I replace a vacuum filter?
Follow the replacement schedule for your exact model. Replace it sooner if it is torn, misshapen, permanently clogged, damp, or still causes poor airflow after cleaning.
Why does my vacuum smell after I clean the filter?
The filter may still be damp, or dust may remain in the dust cup, hose, brush roll, or motor area. Let the filter dry fully and inspect the rest of the airflow path. A burning smell requires immediate shutdown and inspection.
Conclusion
The safest way to clean a vacuum filter is to identify its type first. Wash a filter only when the manual approves it, use cool water, avoid harsh cleaners, and allow complete air-drying. For non-washable filters, gentle dust removal or replacement is the better choice.
Start by checking your vacuum’s model manual, then inspect the filter, dust cup, hose, and brush roll together. This simple check can improve airflow without risking damage to the motor or filter.
One Comment