For many sealed hardwood floors in U.S. homes, a small amount of diluted white vinegar can help remove light dirt and residue. However, vinegar is acidic and may dull some finishes. Check the floor maker’s care guide first, use very little liquid, and test a hidden spot before cleaning the whole floor.
Introduction
Hardwood floors are easy to damage with too much water, harsh soap, steam, or rough tools. In homes across the United States, floor types vary widely. A floor may have a polyurethane finish, wax, oil, aluminum oxide, or no protective finish at all.
The safest cleaning plan is simple: remove dry grit, use a barely damp microfiber mop, and dry the floor soon after. Vinegar may be useful for a sealed floor when the manufacturer allows it. It is not a safe default for every wood floor.

Is Vinegar Safe for Hardwood Floors?
Vinegar can be safe for some sealed, finished hardwood floors when it is highly diluted and used sparingly. It is not suitable for every floor, and more vinegar does not mean better cleaning.
Vinegar contains acetic acid. That acid can help loosen some residue, but repeated use may affect certain finishes. It can also leave a dull look on floors with wax or oil-based coatings.
Do not use vinegar on these floors
Avoid vinegar unless the floor maker gives clear approval for:
- Unfinished wood
- Waxed floors
- Oil-finished floors
- Floors with worn or peeling finish
- Floors with open seams or water damage
- Reclaimed wood with an unknown finish
- Floors with a manufacturer warning against acidic cleaners
If you do not know the finish, treat the floor as delicate. A flooring professional can help identify it.
Check the floor finish first
Look for care instructions from the flooring brand, builder, installer, or property manager. Some manufacturers recommend only their own cleaner or a cleaner with a neutral pH.
A product labeled “natural” or “non-toxic” is not automatically safe for wood. The floor finish, amount of liquid, contact time, and cleaning method all matter.
When to choose a different cleaner
Use a pH-neutral hardwood floor cleaner when the care guide recommends one. This is often a better routine option than vinegar because it is made for finished wood and usually has clearer use instructions.
For a valuable, old, or damaged floor, skip home remedies and ask a flooring specialist for advice.

What You Need to Clean Hardwood Floors With Vinegar
Gather the tools before you start. The goal is to clean with very little water and no hard scrubbing.
Supplies
- Distilled white vinegar
- Clean water
- A bucket
- A microfiber dust mop or vacuum made for hard floors
- A clean microfiber mop
- A soft cloth
- A measuring cup
- A dry towel
- A fan, if the room has poor airflow
Use distilled white vinegar, not apple cider vinegar, balsamic vinegar, or cleaning products that contain added color or scent.
A cautious vinegar solution
If the floor maker allows vinegar, start with this mild mix:
- 1/4 cup distilled white vinegar
- 1 gallon warm water
This is about a 1:64 ratio. Some cleaning guides use more vinegar, but a weaker mix reduces the acid load on the finish. It may also be enough for light soil.
Do not add bleach, ammonia, dish soap, essential oils, or other cleaners. Mixing cleaning products can create harmful fumes or leave a sticky film.
Use less liquid than you think
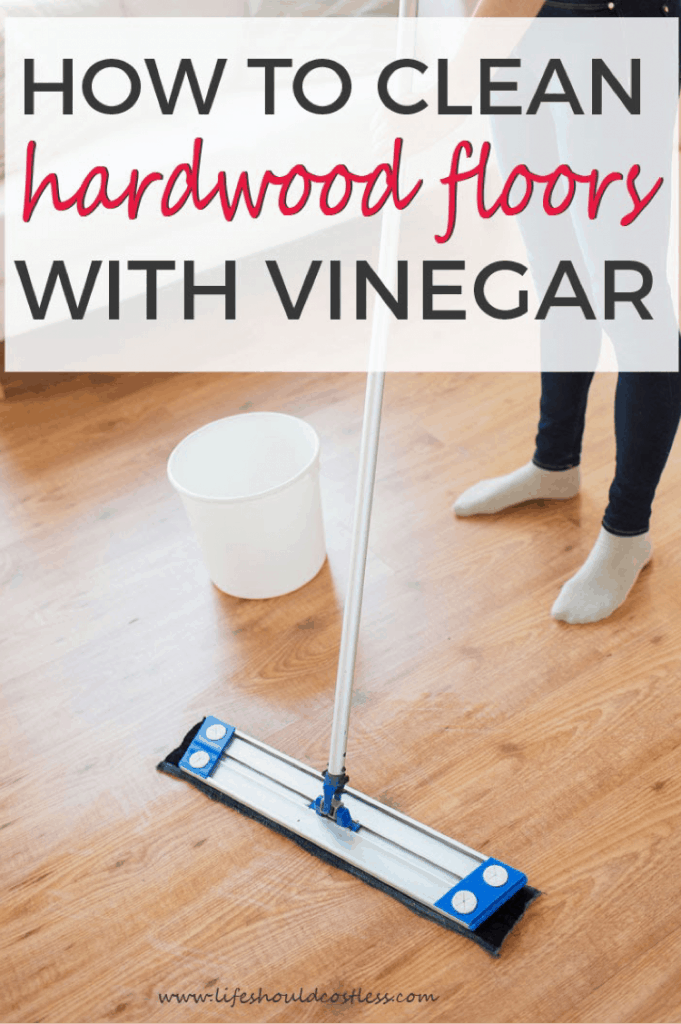
A hardwood mop should be damp, not wet. Wring the mop until it does not drip. If water gathers in the joints, the mop is too wet.
Do not pour the solution directly on the floor. Apply it to the mop instead.

How to Clean Hardwood Floors With Vinegar: Step-by-Step
Follow these steps for a sealed hardwood floor that has passed a spot test.
1. Read the care instructions
Check the floor maker’s guide before mixing vinegar. If the guide says to avoid vinegar, follow that instruction and use the approved cleaner.
If the floor has a warranty, using an unapproved cleaner may create a care or warranty issue.
2. Test a hidden area
Mix the mild solution and apply it to a small area behind furniture or in a closet. Wipe it with a damp microfiber cloth, then dry it.
Wait until the area is fully dry. Look for:
- Haze
- Cloudiness
- A white film
- Sticky residue
- Color change
- Raised wood grain
- Loss of shine
- A rough or tacky feel
Stop if you see any change. A spot test lowers risk, but it cannot guarantee long-term safety.
3. Remove loose dirt first
Dust, sand, and small stones can scratch a floor during mopping. Use a microfiber dust mop or a vacuum with a bare-floor setting.
If you use a vacuum, turn off the rotating brush if possible. A spinning brush can mark some wood finishes.
Start at the far side of the room. This helps you avoid walking over areas that you just cleaned.
4. Mix the solution
Add the measured vinegar to the gallon of warm water. Do not use hot water, since excess heat can soften some finishes and create more moisture in the room.
Mix only what you need for that cleaning session. Do not store the solution in a container that once held another chemical.
5. Wring out the microfiber mop
Dip the mop into the solution, then wring it well. The mop should feel damp to the touch but should not leave a visible wet trail.
Work in small sections. This gives you better control and lets you dry each area quickly.
6. Mop with the wood grain
Move the mop in the direction of the wood grain. Use light pressure. Let the damp mop pick up the dirt instead of scrubbing hard.
Rinse and wring the mop often. A dirty mop can spread grit and make the floor look streaky.
7. Dry each section
Wipe away moisture with a clean, dry microfiber cloth if the floor does not dry within a few minutes. Open a window or run a fan when safe and practical.
Do not leave standing water on the floor. Water that enters seams can cause boards to swell, cup, or separate.
8. Inspect the floor
When the floor is dry, check it under normal room light. A clean floor should feel smooth and should not have a tacky film.
If streaks remain, the cause may be too much solution, a dirty mop, or old cleaner residue. Do not add more vinegar. Use a clean damp microfiber cloth and then dry the area.

How Often Should You Use Vinegar on Hardwood Floors?
Use vinegar only as needed, not as an automatic daily cleaner. Dry dusting and prompt spot cleaning are safer for routine care.
A simple maintenance plan works well for many finished floors:
| Cleaning task | Suggested approach |
|---|---|
| Daily or as needed | Sweep or dust mop high-traffic areas |
| Weekly | Vacuum with a hard-floor setting |
| Spills | Blot at once with a soft, dry cloth |
| Deeper cleaning | Use the approved floor cleaner |
| Vinegar cleaning | Occasional use only if the finish maker allows it |
The right schedule depends on foot traffic, pets, children, entry mats, and local conditions. Homes near sandy areas may need more frequent dry cleaning because grit can scratch the finish.
Place mats at exterior doors. Use mats that do not have rubber or latex backing unless the flooring maker approves them. Some backings can trap moisture or affect the finish.
Add felt pads to furniture legs. Lift furniture when moving it instead of dragging it across the floor.
Common Vinegar-Cleaning Mistakes
Most hardwood floor problems come from excess moisture, harsh friction, or the wrong cleaner. Avoid these mistakes.
Using too much vinegar
A stronger mix is not a stronger cleaning method. More acid may increase the chance of dulling or harming the finish.
Measure the vinegar. Do not pour it into the bucket by guesswork.
Soaking the floor
Mopping with a dripping mop can force water between boards. It can also damage the subfloor below.
Use a damp mop and dry wet areas right away.
Skipping dry cleaning
Mopping over grit can act like sanding. Remove loose dirt first.
Using a steam mop
Steam and heat can push moisture into seams and may damage some finishes. Unless the floor maker clearly approves steam cleaning for that exact floor, avoid it.
Scrubbing with rough tools
Do not use steel wool, abrasive pads, stiff brushes, or powdered cleaners. These tools may scratch the finish.
Adding soap to the vinegar mix
Dish soap can leave a film. Bleach and ammonia can create dangerous fumes when mixed with other products. Use one approved cleaning method at a time.
Cleaning without a test
A solution that works on one floor may harm another. Always test an unknown finish in a hidden area.
Leaving a sour smell
A strong vinegar smell usually means the solution is too concentrated or the room needs more airflow. A mild solution should not require heavy fragrance to cover it.

What to Do If Vinegar Damages or Dulls the Floor
Stop using the vinegar solution if the floor looks cloudy, feels sticky, or loses its shine.
First, remove any remaining moisture with a clean, dry microfiber cloth. Do not apply oil, wax, polish, or another cleaner to hide the change. Additional products can make the residue harder to remove.
If the surface still looks dull after it dries, contact the flooring maker or a qualified hardwood floor professional. The repair may involve cleaning, recoating, or refinishing, depending on the finish and the extent of the damage.
If boards swell, cup, buckle, or separate after water exposure, address the moisture source quickly. Do not sand a damp floor. A professional should assess the boards and subfloor before repair.
For a sticky floor, the likely causes include:
- Too much vinegar
- Too much water
- Cleaner residue
- A mop that was not rinsed
- A finish that is breaking down
The safest next step is to stop experimenting and identify the finish.

Vinegar vs. Other Hardwood Floor Cleaners
Vinegar is inexpensive and widely available, but it is not always the best choice.
| Cleaning method | Main benefit | Main concern |
|---|---|---|
| Diluted white vinegar | Low cost and useful for light residue on some sealed floors | Acid may affect some finishes |
| pH-neutral hardwood cleaner | Made for many finished wood floors | Must match the floor maker’s instructions |
| Plain water | Can remove light dust and soil | Too much water can damage wood |
| Steam mop | Quick and uses heat | Moisture and heat may harm wood |
| Oil or polish | Can add temporary shine | May create buildup and make later recoating harder |
For routine care, the floor maker’s approved cleaner is the most defensible choice. Vinegar is best treated as an occasional option, not a universal hardwood-floor solution.

Frequently Asked Questions
Can I use apple cider vinegar on hardwood floors?
No. Use distilled white vinegar if the floor maker allows vinegar. Apple cider vinegar can contain color, sugars, or other compounds that may leave residue or stains.
Can vinegar remove pet urine from hardwood floors?
Vinegar may reduce some surface odor, but it cannot reliably remove urine that has entered seams, wood fibers, or the subfloor. Do not flood the area. Blot fresh urine, clean with a product approved for the floor, and contact a professional if the odor returns.
Can I mix vinegar with baking soda?
Do not mix them as a floor cleaner. They react and largely cancel each other out. The mixture may also leave residue that makes the floor dull or sticky.
Can vinegar remove wax from hardwood floors?
Vinegar is not a reliable or controlled wax remover. It may affect the finish unevenly. Use a wax-removal product only when the floor maker approves it, or ask a flooring professional.
Can I use vinegar on engineered hardwood?
Engineered hardwood still has a wood surface and a finish that can be damaged by excess moisture or acid. Follow the exact care guide for that floor. Do not assume that engineered construction makes vinegar safe.
Key Takeaways
- Use vinegar only on a sealed hardwood floor when the care guide allows it.
- Mix no more than 1/4 cup distilled white vinegar with 1 gallon of warm water for a cautious starting solution.
- Remove grit before mopping.
- Use a barely damp microfiber mop.
- Dry the floor quickly.
- Never soak, steam clean, or scrub hardwood with abrasive tools.
- Stop if the floor becomes cloudy, sticky, rough, or dull.
Conclusion
Diluted vinegar can clean light soil from some sealed hardwood floors, but it is not safe for every finish. The best method is to check the manufacturer’s instructions, test a hidden area, use a weak solution, and keep moisture to a minimum.
For regular cleaning, dry dust removal and an approved pH-neutral hardwood cleaner are often the lower-risk choices. When the finish is unknown or the floor is damaged, professional advice is safer than repeated home remedies.