Vacuum a car AC system for at least 30 minutes in many routine repairs, but time alone does not prove the system is ready to recharge. A better rule is to pull the system to about 500 microns or lower, then confirm that the vacuum holds after the pump is isolated.
A small, dry system may reach a deep vacuum in 15–30 minutes. A system that was open for a long time, has moisture inside, or uses long hoses may need 45–60 minutes or more. If the vacuum will not hold, stop and find the leak before adding refrigerant.
This guide applies to common vehicles in the United States, including systems using R-134a and R-1234yf. Federal rules prohibit intentionally venting automotive refrigerant. Refrigerant recovery should be done with approved equipment by an EPA Section 609-certified technician.
What Does Vacuuming a Car AC System Do?
Vacuuming removes air and water vapor from the air-conditioning system before refrigerant is added. A vacuum pump lowers the pressure inside the sealed system, which causes moisture to boil at a lower temperature and leave through the pump.
Air and moisture can cause several problems:
- Poor cooling performance
- High system pressure
- Ice at the expansion valve or orifice tube
- Corrosion inside hoses and components
- Damage to the compressor
- Incorrect refrigerant charge
A vacuum pump does not repair leaks. It only removes non-condensable gases and some moisture. If the system loses vacuum after the pump is shut off, the system may have a leak or may still contain trapped moisture.
The vacuum process usually follows refrigerant recovery and repairs. A typical sequence is:
- Recover the old refrigerant.
- Repair the leak or replace the failed part.
- Replace the receiver-drier or accumulator when required.
- Add the correct amount of refrigerant oil if oil was lost.
- Connect a vacuum pump.
- Evacuate the system.
- Perform a vacuum-hold test.
- Recharge by weight.
The exact procedure depends on the vehicle service manual. Some cars use an accumulator, while others use a receiver-drier. These parts help control moisture and refrigerant flow, but they do not replace proper evacuation.
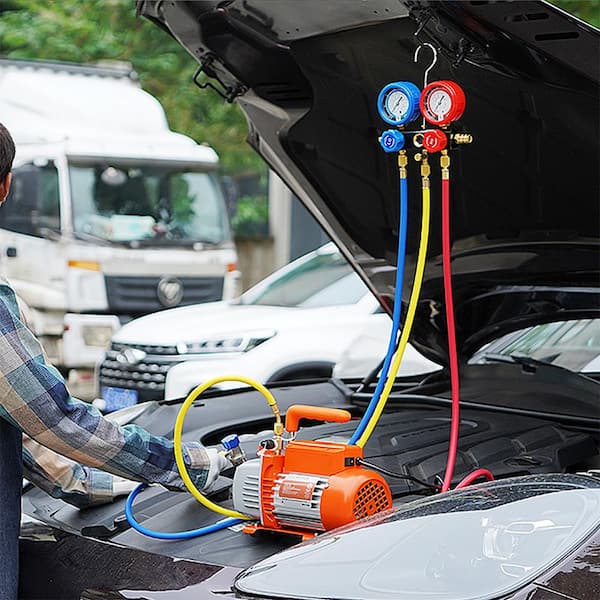
How Long Should You Vacuum a Car AC System?
For most routine automotive AC work, run the vacuum pump for 30–45 minutes after the system reaches a deep vacuum. Use the pressure reading and a hold test to decide when the work is complete.
| Situation | Typical evacuation time | What to check |
|---|---|---|
| System opened briefly during a repair | 30 minutes or more | Deep, stable vacuum |
| System open for hours or days | 45–60 minutes or more | Moisture removal and vacuum hold |
| New compressor or major component installed | 30–60 minutes | Correct oil amount and leak test |
| Long hoses or a large system | 45–60 minutes or more | Hose volume and micron reading |
| Vacuum will not reach a deep level | Do not use time as the fix | Check leaks, valves, and moisture |
| Vacuum drops after isolation | Stop and diagnose | Leak or outgassing |
These are practical ranges, not universal factory specifications. Some vehicle service manuals provide a set evacuation time. Others focus on achieving a specified vacuum and completing a leak test.
The 500-micron target
Professional technicians often use a micron gauge because a standard manifold gauge cannot show a deep vacuum accurately. A common target is 500 microns or lower, followed by an isolation test.
The system should remain near that level when the pump is shut off and the valves are closed. The exact acceptable rise depends on the vehicle manufacturer and the test setup. A rapid rise usually points to a leak. A slow rise may indicate moisture evaporating from the system, hose contamination, or a small leak.
If you only watch the low-side gauge, you may see a reading that appears fully evacuated even though the system still contains moisture or has not reached a proper deep vacuum.
What Changes the Vacuum Time?
The correct vacuum time depends on the system condition, the equipment, and the weather. A timer alone cannot account for these factors.
How long the system was open
A system exposed to humid air for several days contains more moisture than a system opened for a few minutes. Moisture may be trapped in the compressor oil, hoses, evaporator, condenser, or receiver-drier.
If the system has been open for a long time, replace moisture-sensitive parts as required by the service information and allow more evacuation time.
Leak size and location
A large leak may prevent the pump from reaching a deep vacuum at all. A small leak may allow the system to reach a low pressure but lose that vacuum during the hold test.
Do not keep running the pump to compensate for a leak. The pump may hide the symptom while it is operating, but the system will not keep its charge after recharging.
Pump condition
A vacuum pump with dirty or low oil may perform poorly. Replace the pump oil according to the equipment maker’s instructions. Also check whether the pump is rated for the refrigerant and service equipment being used.
A small or worn pump may need more time than a professional two-stage pump. This does not mean it is safe to shorten the evacuation period.
Hose length and restrictions
Long hoses add internal volume and may slow evacuation. Loose fittings, damaged seals, closed valves, and restricted service ports can also make the gauge reading misleading.
For the best reading, place a micron gauge as close to the vehicle system as practical rather than relying only on a gauge mounted near the pump.
Temperature
Warm conditions generally help moisture evaporate. Cold conditions can make evacuation slower. If the vehicle is in a cold garage, the system may need more time to reach and hold a deep vacuum.
Never heat an AC system with an open flame or unsafe heat source. Follow equipment instructions and keep the work area ventilated.

How to Vacuum a Car AC System Safely
Only evacuate a system that has already been recovered and is free of liquid refrigerant. Never connect a vacuum pump to a charged system as a substitute for refrigerant recovery.
Equipment checklist
You may need:
- Approved recovery equipment
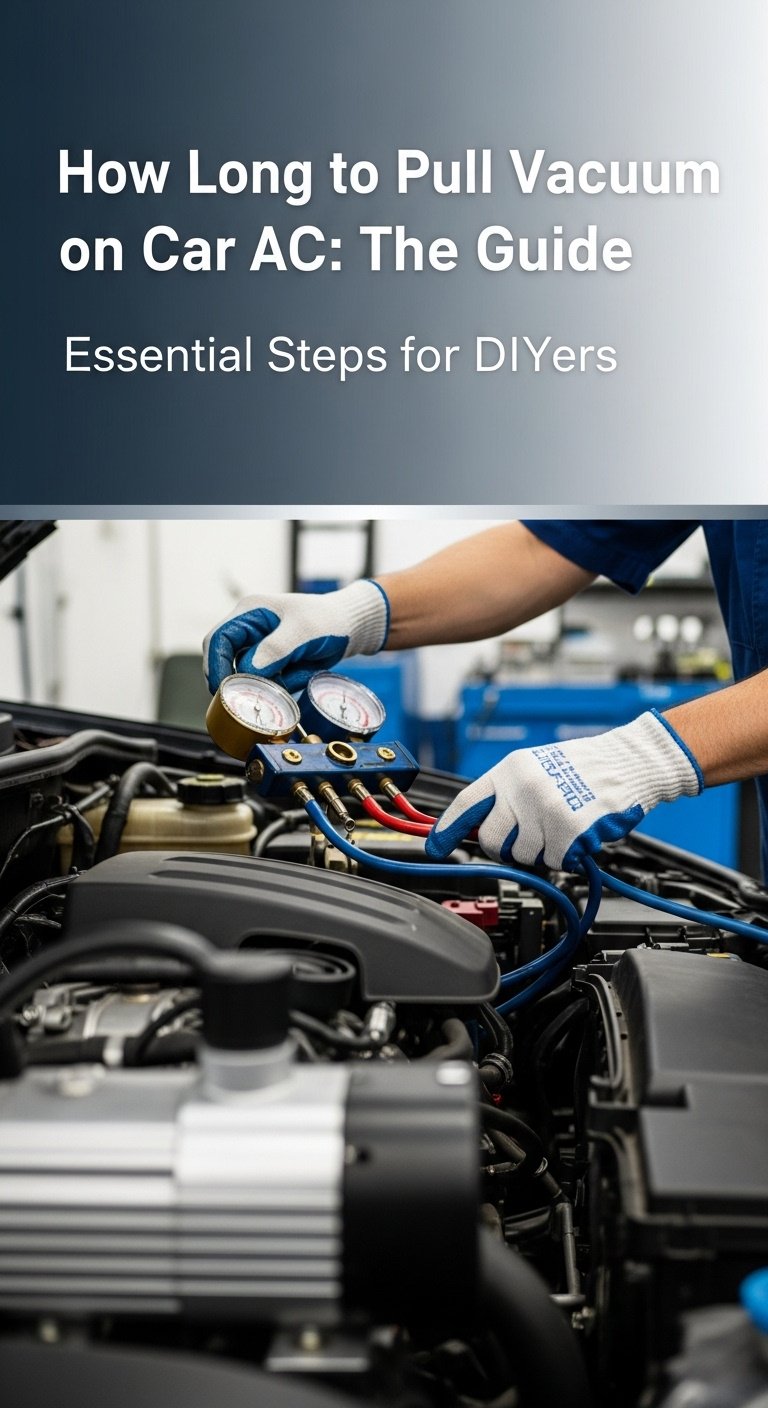
- Vacuum pump
- Manifold gauge set or service machine
- Micron gauge
- Correct service couplers
- New vacuum-pump oil
- Refrigerant scale
- Leak-detection equipment
- Safety glasses and gloves
- The vehicle service manual
R-134a and R-1234yf use different service fittings and have different handling requirements. Do not mix refrigerants or use unknown refrigerant in a recovery machine.
Step 1: Confirm the vehicle information
Find the refrigerant type and factory charge amount on the under-hood label or in the service information. The label may list the charge in ounces or grams.
Do not estimate the charge from low-side pressure. Correct charging is done by weight, not by a pressure number alone.
Step 2: Recover the refrigerant
Recover the refrigerant with approved equipment. In the United States, the EPA requires refrigerant recovery during service of motor-vehicle air-conditioning systems.
If the vehicle has an unknown refrigerant, stop and identify it before connecting equipment. Contaminated refrigerant can damage recovery and recycling machines.
Step 3: Complete the repair
Replace leaking hoses, O-rings, condensers, compressors, evaporators, or service valves as needed. Use the correct refrigerant oil and the correct quantity.
Adding extra oil can reduce cooling and damage the compressor. Follow the vehicle or component maker’s oil-balancing procedure.
Step 4: Connect the vacuum equipment
Connect the low- and high-side service ports when the equipment allows it. Open the appropriate valves and make sure the pump exhaust is unobstructed.
A common setup is:
Vehicle service ports → manifold or service machine → vacuum pump
Use short, large-diameter hoses when possible. Check that the couplers are fully seated and that the manifold valves work correctly.
Step 5: Start the pump and watch the readings
Start the pump and monitor the vacuum. The pressure should fall steadily.
If the pressure stops falling at a relatively high level, check:
- Loose couplers
- Bad hose seals
- Closed manifold valves
- Blocked service ports
- Low pump oil
- A large system leak
- A damaged vacuum pump
Do not assume the vehicle is leaking until you rule out the service equipment.
Step 6: Continue for the required time
Once the system reaches a deep vacuum, continue evacuation for about 30 minutes as a practical starting point. A vehicle that was open for a long time may need longer.
The main goal is a stable, deep vacuum. The clock supports the process, but it does not replace a measurement.
Step 7: Isolate the system and perform a hold test
Close the valves between the vehicle and the pump, then shut off the pump if the equipment procedure allows it. Watch the micron gauge.
- A stable reading suggests the system is reasonably tight and dry.
- A fast rise suggests a leak or equipment problem.
- A slow, continued rise may suggest moisture, outgassing, or a small leak.
Follow the vehicle manufacturer’s specified hold-test limits when available.
Step 8: Recharge by weight
After the system passes the vacuum test, charge it with the specified refrigerant mass. Use a scale and add refrigerant through the proper service connection.
Do not run the compressor with an empty or severely undercharged system unless the service procedure specifically allows it. Some vehicles require special steps to prevent compressor damage.

Signs the AC System Is Properly Evacuated
A properly evacuated system usually shows several signs:
- The vacuum reaches the equipment or manufacturer target.
- The reading does not quickly rise after isolation.
- The pump oil is clean and at the correct level.
- The system was not exposed to a known leak during the test.
- The vacuum hoses and couplers have been checked.
- The system accepts the specified charge by weight.
A deep vacuum reading by itself is not enough. A system with a large leak may reach a low pressure while the pump is running, then lose the vacuum as soon as the valves are closed.
After recharging, test the AC under the conditions listed in the service manual. Check vent temperature, system pressures, compressor operation, and cooling-fan operation. Pressure readings vary with outdoor temperature, humidity, engine speed, and vehicle design, so they should not be judged in isolation.

What to Do If the Vacuum Will Not Hold
If the vacuum rises during the hold test, diagnose the problem before charging the system. Adding refrigerant to a leaking system wastes refrigerant and may damage components.
First, test the service equipment
Close the valve that separates the vehicle from the hoses. If the vacuum still rises, the issue may be in the manifold, hose, coupler, or pump connection.
Inspect:
- Hose gaskets
- Schrader valve depressors
- Service couplers
- Manifold seals
- Pump isolation valve
- Vacuum gauge connection
Next, test the vehicle
If the equipment holds vacuum but the vehicle does not, inspect the vehicle system. Common leak points include:
- Compressor shaft seal
- Hose crimps
- O-rings
- Service ports
- Condenser damage
- Evaporator drain area
- Receiver-drier connections
- Pressure switches
Use an approved leak-detection method. An electronic detector or ultraviolet dye may help, but dye must be compatible with the refrigerant and oil. Never use oxygen, compressed air, or another unsafe gas to pressurize an AC system.
Consider moisture and outgassing
A slow vacuum rise does not always mean a refrigerant leak. Moisture and gases released from contaminated oil can also cause the pressure to increase.
If the vehicle was open for a long time, continue evacuation only after confirming that the system is leak-tight and the equipment is working correctly. Replace the receiver-drier or accumulator when required rather than trying to solve heavy moisture contamination with extra pump time.
Common Mistakes When Vacuuming Car AC Systems
Using pressure alone
A low reading on a manifold gauge does not confirm that the system is dry. Use a micron gauge when possible.
Vacuuming for exactly 15 minutes
Fifteen minutes may be enough for some small repairs, but it is not a dependable rule. The system condition matters more than a fixed minimum.
Leaving the pump running to hide a leak
The pump can temporarily pull a leaking system into a vacuum. The leak becomes clear only when the system is isolated.
Charging without a hold test
A system that does not hold vacuum may lose its new refrigerant soon after service. Find the leak first.
Mixing refrigerants
Do not mix R-134a, R-1234yf, or unknown refrigerants. Use equipment and fittings designed for the refrigerant in the vehicle.
Adding refrigerant by pressure
Pressure is affected by outdoor temperature and airflow. Charge to the factory-listed weight.
Ignoring the drier or accumulator
These parts remove moisture and help manage refrigerant flow. A system that was open for a long period may need a replacement part according to the service manual.
Venting refrigerant
Releasing refrigerant into the atmosphere is not an acceptable service method. Recovery protects the environment and helps prevent contaminated refrigerant from entering service equipment.

Should You Vacuum a Car AC System Yourself?
A basic vacuum pump is not enough for a complete and reliable AC repair. You also need recovery equipment, the correct refrigerant identification, leak-testing tools, a scale, and knowledge of the vehicle’s oil and charge specifications.
DIY work may be reasonable for a trained person who has the proper equipment and follows the service manual. For many vehicle owners, an automotive AC shop is the safer option, especially with R-1234yf systems, which use mildly flammable refrigerant and require dedicated service equipment.
Do not attempt the job if:
- You cannot identify the refrigerant.
- The system may still contain refrigerant.
- You do not have recovery equipment.
- You cannot measure the charge by weight.
- The compressor has failed internally.
- The system has a major leak that you cannot locate.
- You are unsure how much oil the repair requires.
A qualified technician can recover the refrigerant, test for leaks, evacuate the system, and recharge it without releasing refrigerant.

Quick Answer: How Long to Vacuum a Car AC System?
Plan on 30–45 minutes for a normal repair, and 45–60 minutes or longer if the system was open for a long time or contains moisture. The system should reach a deep vacuum, commonly near 500 microns, and hold that vacuum after the pump is isolated.
If the vacuum does not hold, do not recharge the system. Diagnose the leak or equipment problem first.
FAQs
Can I vacuum a car AC system for only 10 minutes?
Ten minutes may be too short for a reliable evacuation. The needed time depends on the system size, moisture level, pump, hose setup, and temperature. Use a deep-vacuum reading and a hold test instead of relying on ten minutes.
How long should I wait before adding refrigerant?
Add refrigerant after the system reaches the required vacuum and passes the isolation test. If the reading rises quickly, wait until the problem is found and repaired.
Does vacuuming remove all moisture?
Vacuuming removes much of the moisture and air that can be pulled from the system, but it may not remove moisture trapped in contaminated oil or a saturated drier. Component replacement and longer evacuation may be needed after major contamination.
Can a vacuum pump find an AC leak?
A vacuum test can show that the system does not hold vacuum, but it may not locate the leak or reveal every leak under all conditions. Use an approved pressure or electronic leak-test method as appropriate.
What micron level should a car AC system reach?
A common professional target is 500 microns or lower, but the vehicle service information should take priority. The system must also hold the vacuum after isolation.
Final Recommendation
Vacuum a car AC system for at least 30 minutes after reaching a deep vacuum, then perform a hold test. Increase the time when the system was open for days, the weather is cold, or moisture may have entered the system.
The most reliable process is simple: recover the refrigerant, repair the leak, evacuate with a suitable pump, verify the vacuum with a micron gauge, confirm that it holds, and recharge by the factory-specified weight.