
Vacuuming properly means choosing the right setting and attachment, moving slowly enough to remove embedded debris, and cleaning in more than one direction. In U.S. homes, the best method depends on whether you are cleaning carpet, hardwood, tile, area rugs, stairs, or upholstery.
A thorough routine also includes preparing the room, emptying the vacuum before airflow drops, and maintaining the filter and brush roll. The result is cleaner flooring, less dust left behind, and less unnecessary wear on your vacuum.
Introduction
Vacuuming is more than quickly pushing a machine across the floor. A vacuum must create consistent airflow and maintain contact with the surface to collect dust, hair, crumbs, and larger debris. Fast passes, clogged filters, an incorrect height setting, or the wrong brush can leave dirt behind.
This guide explains how to vacuum properly in a typical U.S. home, including how to vacuum carpet, hardwood floors, tile, rugs, stairs, and hard-to-reach areas. It also covers common mistakes, vacuum maintenance, pet hair, allergens, and what to do when your vacuum stops cleaning effectively.

Why Proper Vacuuming Matters
Proper vacuuming removes both visible debris and smaller particles that settle into carpet fibers, floor gaps, upholstery, and edges. It can also help reduce the amount of dust that becomes airborne during normal household activity.
However, vacuuming does not make a home completely free of allergens or microorganisms. The Environmental Protection Agency explains that indoor air quality is affected by multiple sources, including outdoor pollutants, household products, moisture, combustion, and ventilation. Vacuuming is one part of a broader cleaning routine, not a substitute for moisture control or professional remediation.
A correct technique improves cleaning in three ways:
- More contact with the floor: The vacuum head must sit at an appropriate height.
- More time for suction: Slow passes allow the machine to collect more debris.
- Better coverage: Overlapping passes and changing direction reach soil missed on the first pass.
For households with pets, children, or high foot traffic, technique matters even more because hair and grit can become embedded in carpet and tracked across hard floors.
What to Do Before You Vacuum
Prepare the room before turning on the vacuum. Preparation prevents damage, reduces interruptions, and allows the vacuum to reach places that are commonly missed.
1. Pick up objects from the floor
Remove toys, coins, paper clips, socks, cords, and other loose items. Small hard objects can clog the hose, damage the fan, or become projectiles if they enter a high-speed brush roll.
If you find needles, broken glass, nails, or other sharp objects, do not use a standard household vacuum unless the manufacturer specifically allows it. Pick them up with suitable tools while wearing appropriate protection, or use equipment designed for that material.
2. Dust high surfaces first
If you dust shelves, ceiling fans, blinds, or furniture after vacuuming, some of that dust may settle on the floor again. Clean from higher surfaces downward, then vacuum last.
A vacuum with a soft dusting brush can be useful for baseboards, vents, lampshades, and upholstery. Use the attachment recommended by the vacuum manufacturer.
3. Check the vacuum
before cleaning, inspect:
- The dust cup or bag
- The filter
- The hose and wand
- The brush roll
- The power cord
- The floor-head height setting
- The attachment selected for the surface
A full bag or dust cup can reduce airflow. Some bagless vacuums also lose performance when the filter is dirty, even if the dust cup is not full.
4. Open doors and plan your route
Start at the farthest part of the room and work toward the exit. Move furniture only when necessary, and never pull a vacuum by its power cord. If using a corded model, plug it into a properly functioning outlet and keep the cord behind you.
How to Vacuum Properly: Step-by-Step
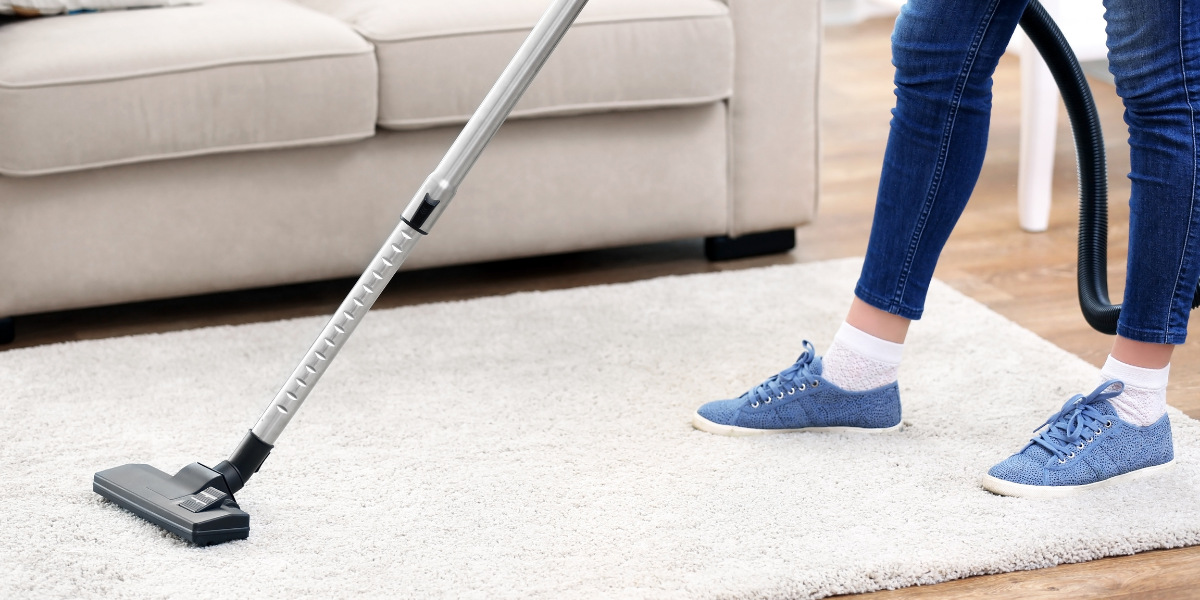
Follow this sequence for most carpeted and hard-floor areas.
Step 1: Select the correct floor setting
Set the vacuum to match the surface:
- Carpet: Use the manufacturer’s carpet setting and an operating brush roll when appropriate.
- Hard floors: Turn off the rotating brush if the vacuum instructions recommend doing so.
- Delicate rugs: Use a lower-agitation setting or suction-only tool if permitted.
- High-pile carpet: Raise the vacuum head if it is difficult to push or the brush is pulling the fibers.
- Low-pile carpet: Use a lower setting only if the machine moves smoothly without excessive resistance.
The correct height is usually the lowest position that allows the vacuum to move without sealing too tightly to the floor. If the vacuum is difficult to push, makes an unusual sound, or causes the carpet to bunch, adjust the height.
Step 2: Vacuum edges and corners
Use a crevice tool or edge-cleaning feature along baseboards, under cabinets, and in corners. Dirt often collects where the main floor head cannot reach.
Do not force a rigid attachment into a narrow gap if it may scratch trim or damage paint. For delicate surfaces, use a soft brush attachment.
Step 3: Make slow, overlapping passes
Push the vacuum forward slowly, then pull it back over the same area. Overlap each neighboring path by approximately one-third to one-half of the vacuum head’s width.
The backward pass is not optional. Many vacuum heads collect debris on both directions, but the pullback gives the machine another opportunity to remove material loosened by the brush or airflow.
A practical pattern is:
- Vacuum the room’s perimeter.
- Work in straight, overlapping lanes.
- Repeat the lanes in the opposite direction, such as left-to-right followed by front-to-back.
- Make a final pass around high-traffic areas.
There is no universal speed that guarantees removal on every vacuum or floor. The practical test is whether the machine moves steadily while the head remains in contact with the surface.
Step 4: Change direction on carpet
Vacuum carpet first in one direction and then at a cross-angle. Carpet fibers can lean in one direction, hiding grit and hair. Changing direction helps lift and expose debris that a single pass may miss.
Do not repeatedly scrub one small spot with a powered brush. Excessive agitation can wear carpet fibers or damage delicate rugs.
Step 5: Use attachments for furniture and stairs
For stairs, use a hose and suitable stair tool rather than trying to balance a full upright vacuum on a step. Keep one hand on the vacuum or secure the unit according to the manufacturer’s instructions.
For upholstery:
- Check the furniture care label.
- Use the upholstery tool or a soft brush.
- Avoid pressing too hard against delicate fabric.
- Test an inconspicuous area if the manufacturer allows vacuuming.
- Do not vacuum loose decorative threads or damaged fabric aggressively.
Step 6: Finish with hard-to-reach areas
Use the wand or crevice tool under furniture, around table legs, along baseboards, and behind appliances where accessible. Do not move or unplug appliances unless you can do so safely.
For mattresses and curtains, follow the care instructions. Vacuuming can remove surface dust, but it does not replace laundering, steam cleaning, or professional treatment when those are needed.

How to Vacuum Different Types of Flooring
The best vacuuming method changes with the floor material. When in doubt, follow the flooring manufacturer’s care instructions.
Carpet
Vacuum carpet slowly in overlapping rows. Use the appropriate height setting and a powered brush roll if the vacuum and carpet manufacturer permit it.
Pay extra attention to:
- Entryways
- Hallways
- In front of sofas
- Under dining tables
- Stair edges
- Areas where pets sleep
- Spots where outdoor grit is tracked inside
Vacuuming cannot remove every stain or deeply embedded contaminant. Stains may require spot treatment, and heavily soiled carpet may need professional cleaning.
Hardwood floors
Use a floor head designed for hard surfaces. If the rotating brush can scratch or scatter debris, switch it off according to the vacuum’s instructions.
Avoid dragging grit across the floor with a stiff brush. Use a soft attachment around baseboards and do not use a wet vacuuming method unless the machine and flooring are specifically designed for it.
For wood floors, moisture is a separate concern. A vacuum removes dry debris; it does not replace a manufacturer-approved damp-cleaning method.
Tile and grout
Vacuum loose dirt before mopping. This prevents grit from turning into muddy residue and reduces the chance of scratching glossy tile surfaces.
Use a crevice tool or suitable narrow attachment along grout lines and wall edges. Do not assume a brush roll is safe for every tile finish; check the floor and vacuum instructions.
Laminate and luxury vinyl
Use a hard-floor setting or suction-only head if recommended. Grit can scratch some surfaces, especially in entryways and under furniture.
Avoid excess water. A standard dry vacuum should only be used for dry debris unless it is clearly labeled for wet pickup.
Area rugs
Check the rug’s care label and construction. A rug pad can help prevent movement, but the vacuum’s brush roll may still be too aggressive for some handmade, fringed, shag, antique, or delicate rugs.
For fragile rugs:
- Use lower suction if available.
- Turn off the rotating brush when appropriate.
- Keep fringe away from the brush roll.
- Use a handheld or upholstery attachment if the main head catches fibers.
- Stop if threads, loops, or edges begin to pull.
Never vacuum a rug that is actively shedding fibers without confirming that the method is appropriate. Some materials require specialized cleaning.
How Often Should You Vacuum?
Vacuuming frequency depends on foot traffic, flooring, pets, household members, and outdoor conditions. A useful starting schedule for many U.S. homes is:
| Area or situation | Practical starting point |
|---|---|
| High-traffic carpet | Several times per week |
| Entryways and hallways | Several times per week or as needed |
| Bedrooms with light traffic | About weekly |
| Homes with pets | More frequently in hair- and dander-heavy areas |
| Hard floors | As needed for visible grit, crumbs, and tracked soil |
| Stairs and upholstery | Weekly or as needed |
| Low-use rooms | Weekly to every other week |
These are starting points, not rules. Increase cleaning when you notice visible debris, odor, flattened carpet, pet hair, or grit near entrances.
A doormat placed inside and outside an entrance can reduce tracked soil, but mats must also be cleaned regularly. Otherwise, they can become a concentrated source of dirt.
For allergy concerns, the American College of Allergy, Asthma & Immunology recommends reducing exposure to known triggers as part of environmental control. Vacuuming may help reduce settled dust, but the most appropriate approach depends on the specific allergen and the person’s symptoms. Persistent breathing problems, wheezing, or suspected mold exposure should be discussed with a qualified healthcare professional or appropriate environmental specialist.
How to Vacuum Pet Hair and Fine Dust
Pet hair often requires more than a quick pass because it can cling to upholstery and become woven into carpet fibers.
For pet hair:
- Empty the vacuum before beginning if the dust cup is near capacity.
- Use a pet-hair tool or powered brush only on surfaces approved by the manufacturer.
- Move slowly over areas where pets rest.
- Check stairs, sofa edges, under beds, and corners.
- Remove hair from the brush roll when the vacuum is unplugged or powered off.
- Clean or replace filters according to the manual.
Fine dust can escape from poorly maintained equipment. Use the correct filter, keep seals intact, and do not operate a vacuum with a damaged dust compartment or missing filter.
A HEPA filter can capture very small particles when the complete vacuum system is designed to use one. The term “HEPA” should not be treated as proof that every particle is removed from a room, especially if the machine leaks air or the filter is incorrectly installed.

Common Vacuuming Mistakes to Avoid
Vacuuming too quickly
Fast passes may remove surface debris but leave grit and hair behind. Slow down in high-traffic areas and on carpet.
Using the wrong attachment
A powered brush may damage delicate rugs or scatter debris on hard floors. A bare suction tool may perform poorly on thick carpet. Match the attachment to the material.
Ignoring edges
The center of a room may look clean while dust accumulates along walls and under furniture. Include edges in every thorough cleaning session.
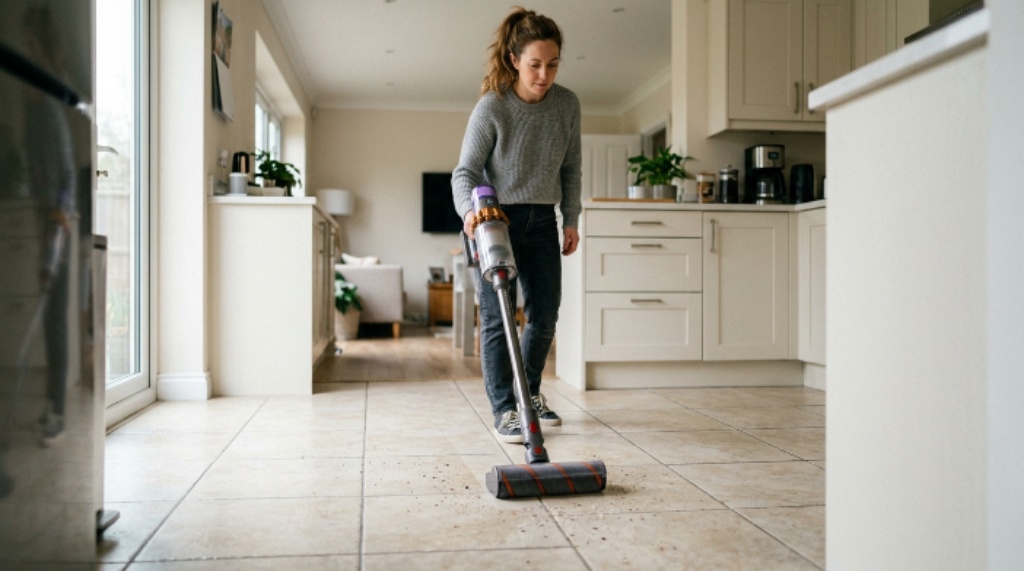
Vacuuming wet material with a standard vacuum
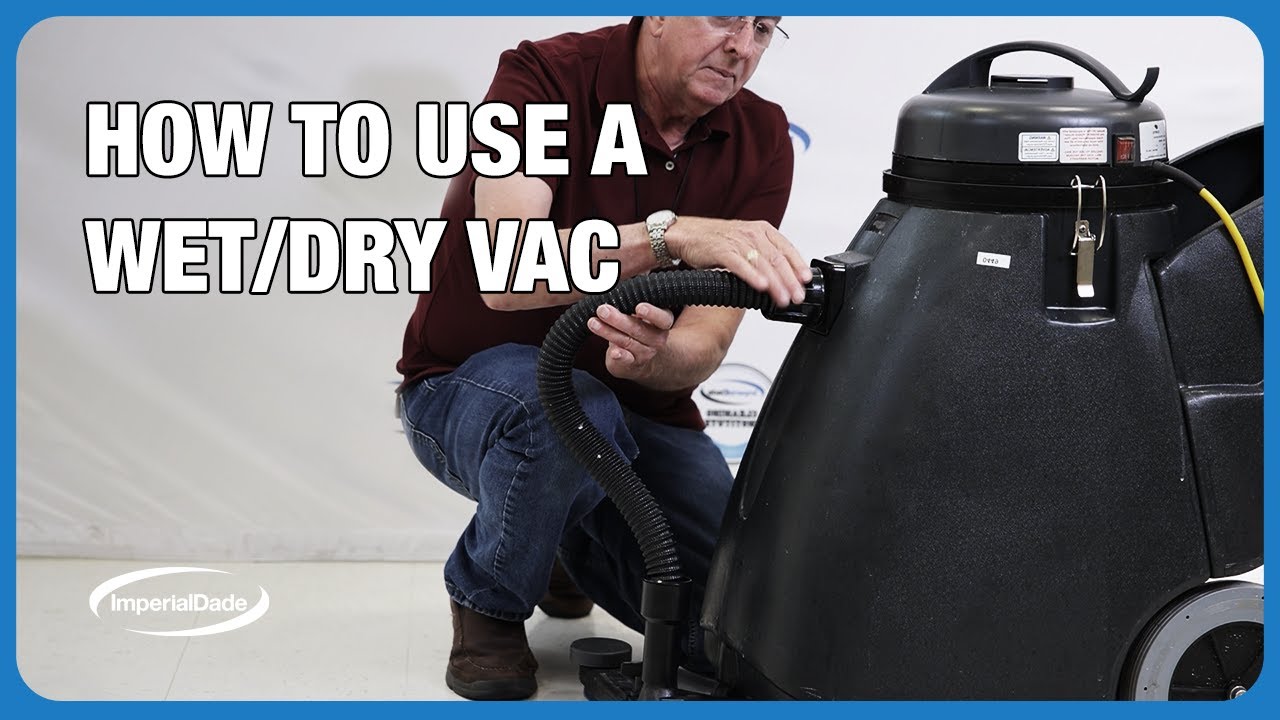
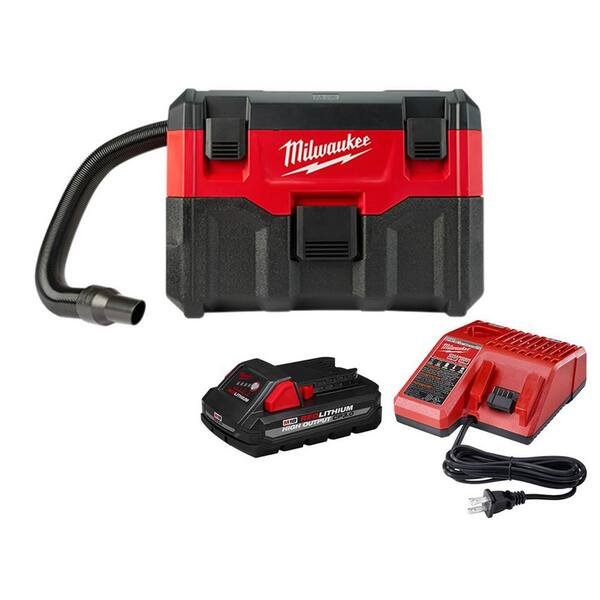
Do not use a regular household vacuum to collect water, wet food, damp soil, or liquid spills unless the model is specifically rated for wet pickup. Water can create an electrical hazard, damage the vacuum, and contribute to odor or microbial growth inside the machine.
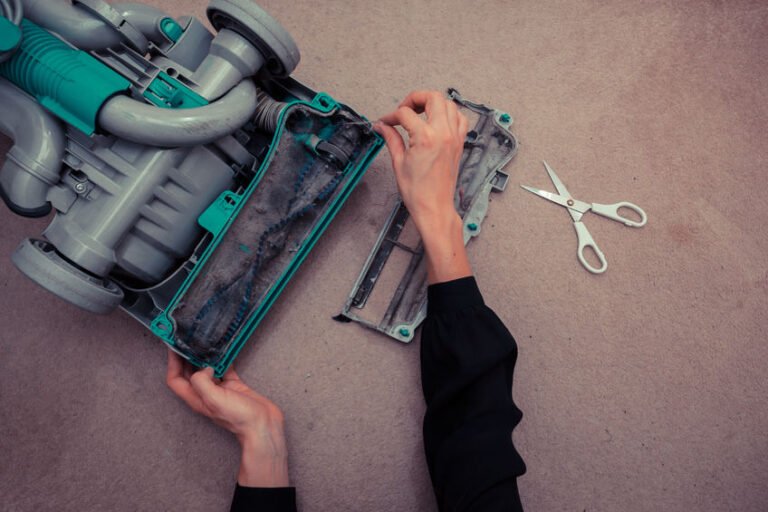
Leaving a clogged brush roll in place
Hair and thread wrapped around the brush roll can reduce agitation and place stress on the motor. Follow the manufacturer’s instructions for safe removal.
Emptying the dust cup carelessly
Dust can become airborne when a cup is dumped indoors. If possible, empty it outdoors or into a closed trash bag, especially if fine dust causes symptoms. Wash reusable components only when the manufacturer says they are washable, and let them dry completely before reinstalling them.
Assuming vacuuming removes mold
Vacuuming visible mold with an ordinary household vacuum can spread contaminated material and does not correct the moisture source. Small surface issues may require cleaning according to appropriate public-health guidance, while extensive growth, contaminated HVAC systems, or persistent moisture may require qualified professional help.
What to Do When the Vacuum Is Not Working Well
Use this troubleshooting order because the simplest causes are often the most likely.
| Symptom | Possible cause | What to check |
|---|---|---|
| Weak suction | Full bag, full dust cup, clogged filter, blocked hose | Empty the container and inspect filters and airflow paths |
| Brush roll does not spin | Wrapped hair, jammed brush, disabled setting, belt or motor problem | Turn the vacuum off and follow the manual’s brush-roll procedure |
| Vacuum is hard to push | Head set too low or brush contacting carpet too aggressively | Raise the height or select the recommended carpet setting |
| Debris remains behind | Moving too quickly, incorrect attachment, full container | Slow down, overlap passes, and check the floor setting |
| Unusual smell | Clogged airflow, overheated motor, trapped debris | Stop using the vacuum and inspect it after it cools |
| Loud rattling | Object in hose, brush roll, or fan area | Unplug or power off the vacuum before inspecting |
| Dust escaping | Damaged seal, incorrectly installed filter, cracked container | Stop use until the filter and dust compartment are correctly fitted |
If the vacuum becomes unusually hot, produces smoke, sparks, or a burning electrical smell, stop using it immediately and disconnect it if safe to do so. Do not continue troubleshooting a potentially electrical fault while the machine is energized.

Vacuum Maintenance for Better Performance
Regular maintenance helps preserve airflow and reduces avoidable failures.
- Empty bagless dust cups before they reach the maximum-fill line.
- Replace disposable bags when full or when airflow noticeably drops.
- Clean washable filters only as directed.
- Replace non-washable filters on the manufacturer’s schedule or when damaged.
- Remove hair and thread from the brush roll.
- Inspect the hose for cracks and blockages.
- Check floor-head seals and attachments.
- Keep the vacuum stored in a dry location.
- Let washable parts dry completely before reinstalling them.
The owner’s manual is the controlling source for model-specific maintenance intervals, filter types, belt replacement, and wet/dry capability. Using an unapproved filter or accessory can reduce performance and may affect warranty coverage.
Key Takeaways
- Prepare the room and inspect the vacuum before cleaning.
- Use the correct setting and attachment for each floor.
- Vacuum slowly with overlapping passes.
- Go in a second direction on carpet when practical.
- Clean edges, corners, stairs, and under furniture.
- Never use a standard vacuum for liquid spills.
- Empty the bag or dust cup and maintain filters regularly.
- Stop using the vacuum if it overheats, smokes, sparks, or smells electrically burnt.
Frequently Asked Questions
Is it better to vacuum fast or slow?
Slow vacuuming is generally more effective because the machine has more time to collect debris. Use controlled, overlapping passes, particularly on carpet and high-traffic areas.
Should you vacuum before or after dusting?
Dust higher surfaces first and vacuum afterward. This removes dust that falls from shelves, furniture, blinds, and ceiling fixtures.
Should the vacuum brush roll be on for hardwood floors?
Usually, use the hard-floor setting or turn off the rotating brush if the manufacturer recommends it. A stiff or rapidly rotating brush can scatter debris or scratch some flooring.
How many times should you vacuum the same area?
One slow forward-and-back pass may be enough for light soil. High-traffic carpet, pet-hair areas, and visibly dirty sections may benefit from a second pass in a different direction. Repeated aggressive scrubbing can damage some fibers.
Can you vacuum baking soda, glass, or liquids?
Do not assume a household vacuum can safely collect these materials. Liquids require a wet/dry-rated machine. Broken glass and sharp objects can damage the vacuum or create a safety hazard. Fine powders may clog filters or become airborne, so follow the vacuum manufacturer’s guidance.
Does vacuuming remove dust mites?
Vacuuming can remove some settled debris and particles from surfaces, but it does not guarantee removal of all dust mites or allergens. Washable bedding, humidity control, encasements, and other measures may be relevant depending on the household’s needs.
Conclusion
To vacuum properly, prepare the area, choose the correct floor setting, move slowly, overlap each pass, and clean edges and high-traffic zones. Use gentler tools for hardwood, delicate rugs, and upholstery, and never collect liquids with a vacuum that is not designed for wet pickup.
A consistent routine plus basic maintenance—emptying the dust container, clearing the brush roll, and cleaning or replacing filters—will usually improve both cleaning results and equipment life. Start with your home’s busiest areas, adjust the frequency to the amount of soil and pet hair present, and follow the flooring and vacuum manufacturer’s instructions for surfaces that require special care.
One Comment